
3d Printer - part 9
You might think I've completely forgotten about my 3d printer, but rest assured it is still receiving attention.
My main complain so far with the machine is that some of its prints were not very square. Often successive layers that should be on top of each other, ended up on a diagonal, getting more and more off axis. I didn't have much luck tracking down why this was happening, but I suspect it is a quirk of either the microcontroller not being powerful enough, or the firmware (Teacup) having a subtle bug.
So I decided to redo the electronics. I ordered a parallel port breakout board off ebay for a few dollars, same as I'd used on my CNC machine. This arrived and was duly installed:
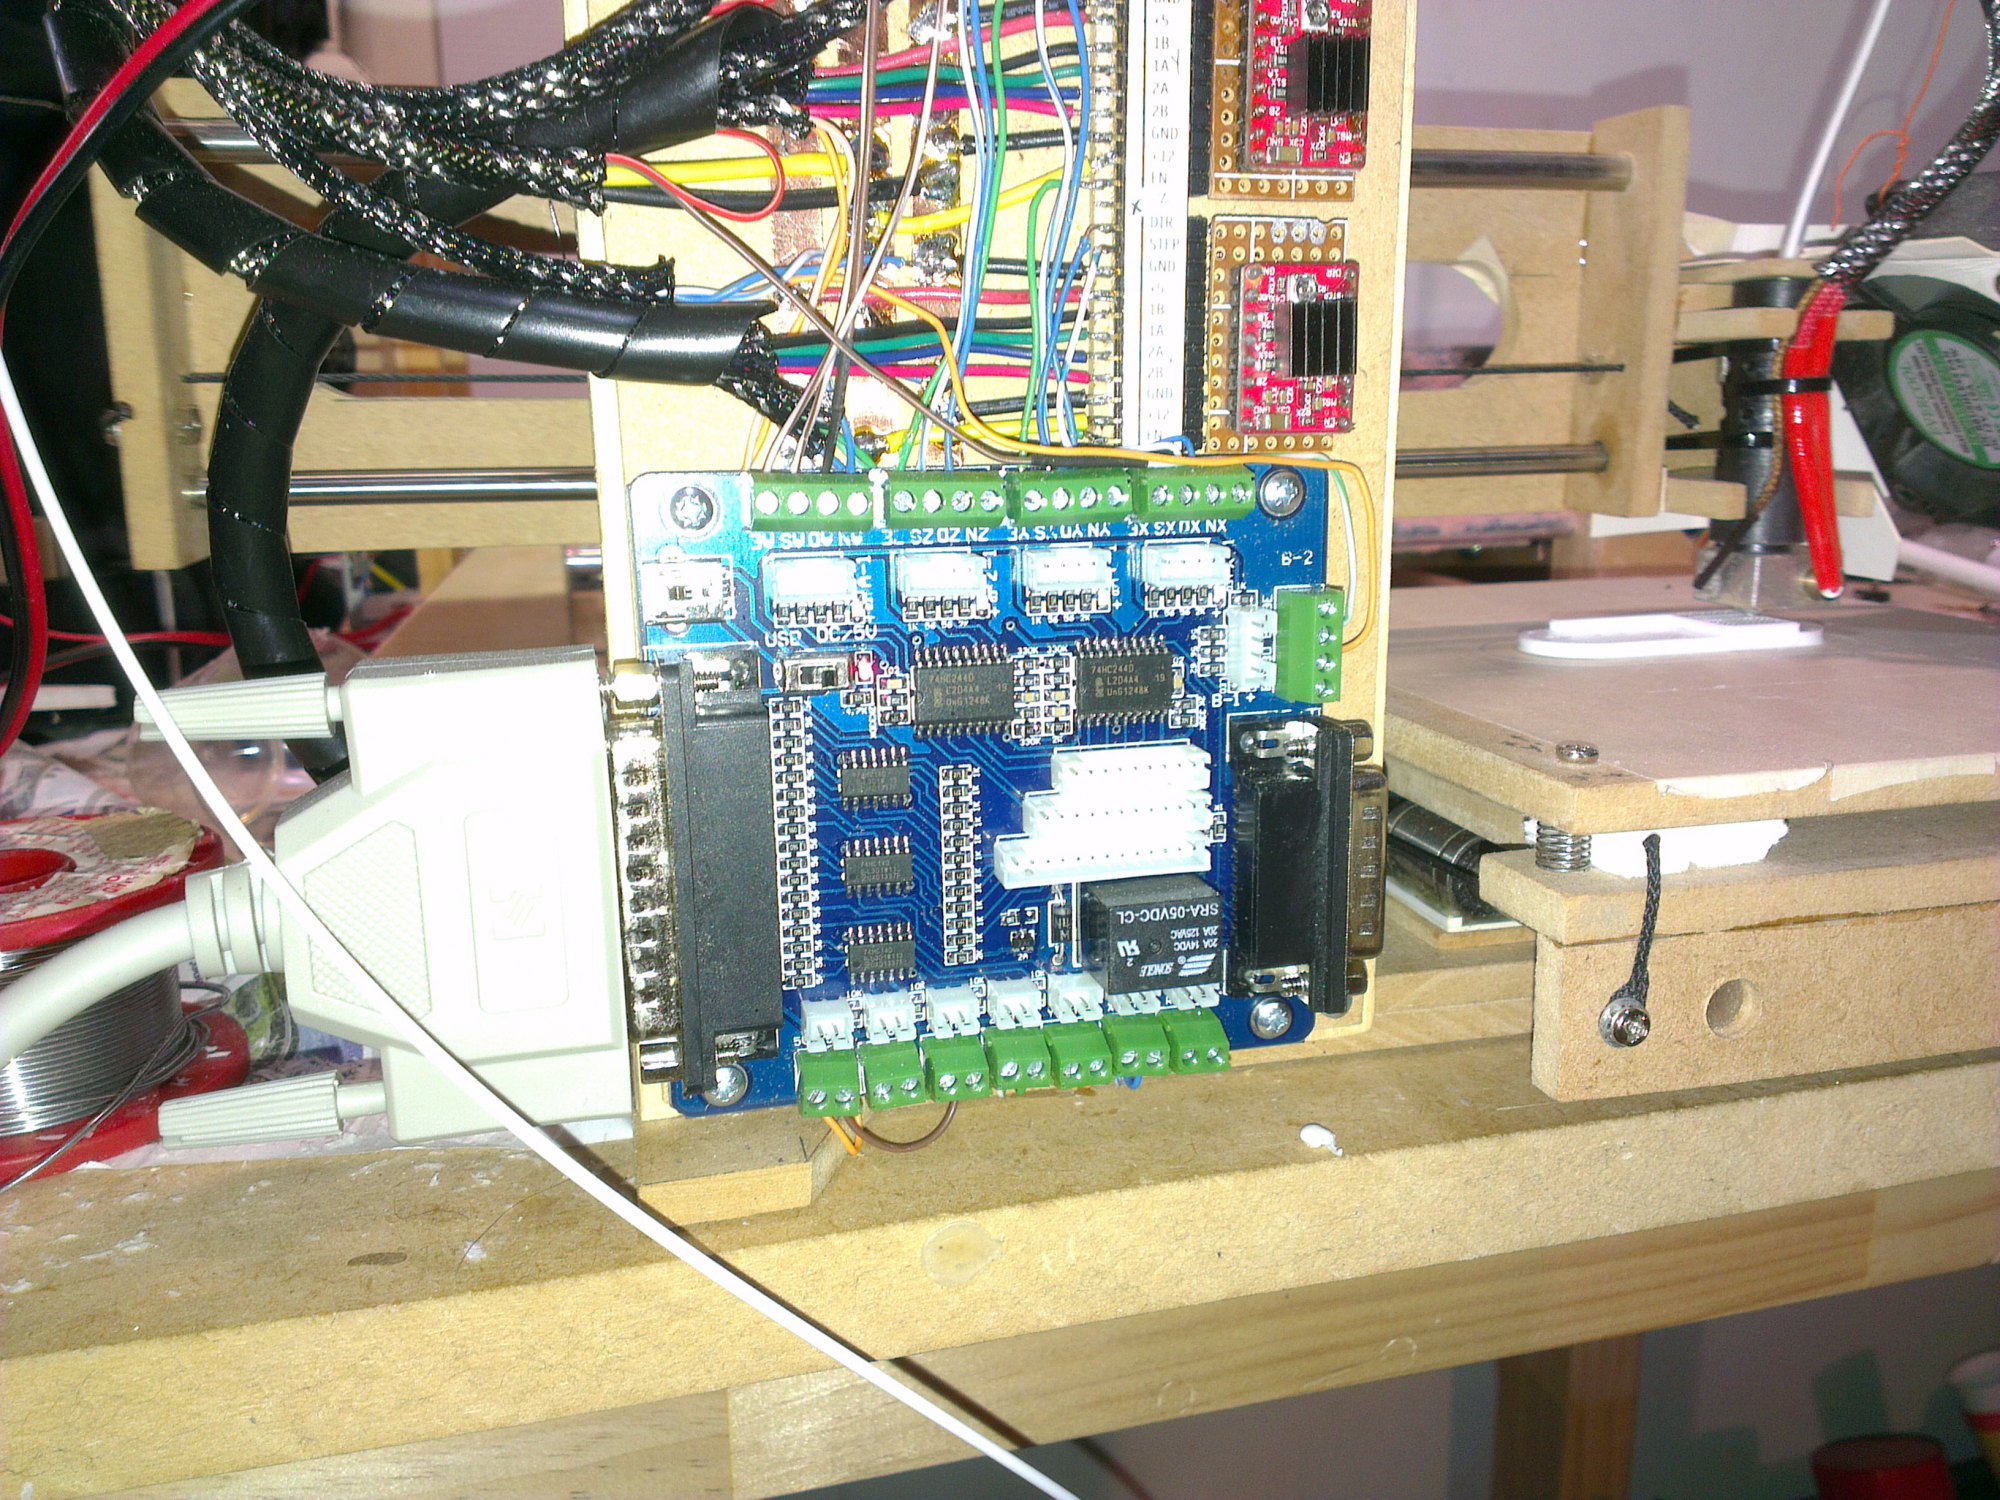
These aren't designed to drive 3d printers so a little fiddling was required to make it work. X, Y, and Z on the machine matched up with the respective outputs on the board. The extruder was hooked up to the A axis, and the limit switches plugged straight in.
That just left the heater on/off output flag for the heater, and the same signal for the fan. I wired these up to the B axis step and direction pins, and wired up a mosfet for the fan so I had speed control.
The tricky part was getting everything set up in LinuxCNC. This was a bit harder as LinuxCNC is, strangely enough, designed for CNC machines. So a little bit of adaptation was required to...
- Get a linear axis for the extruder. I set this up as the U axis.
- Attach the fan to something. I set it up as a spindle so that an M3 S255 command would turn the fan on to 100%, while M3 S127 would give 50% power, and so forth.
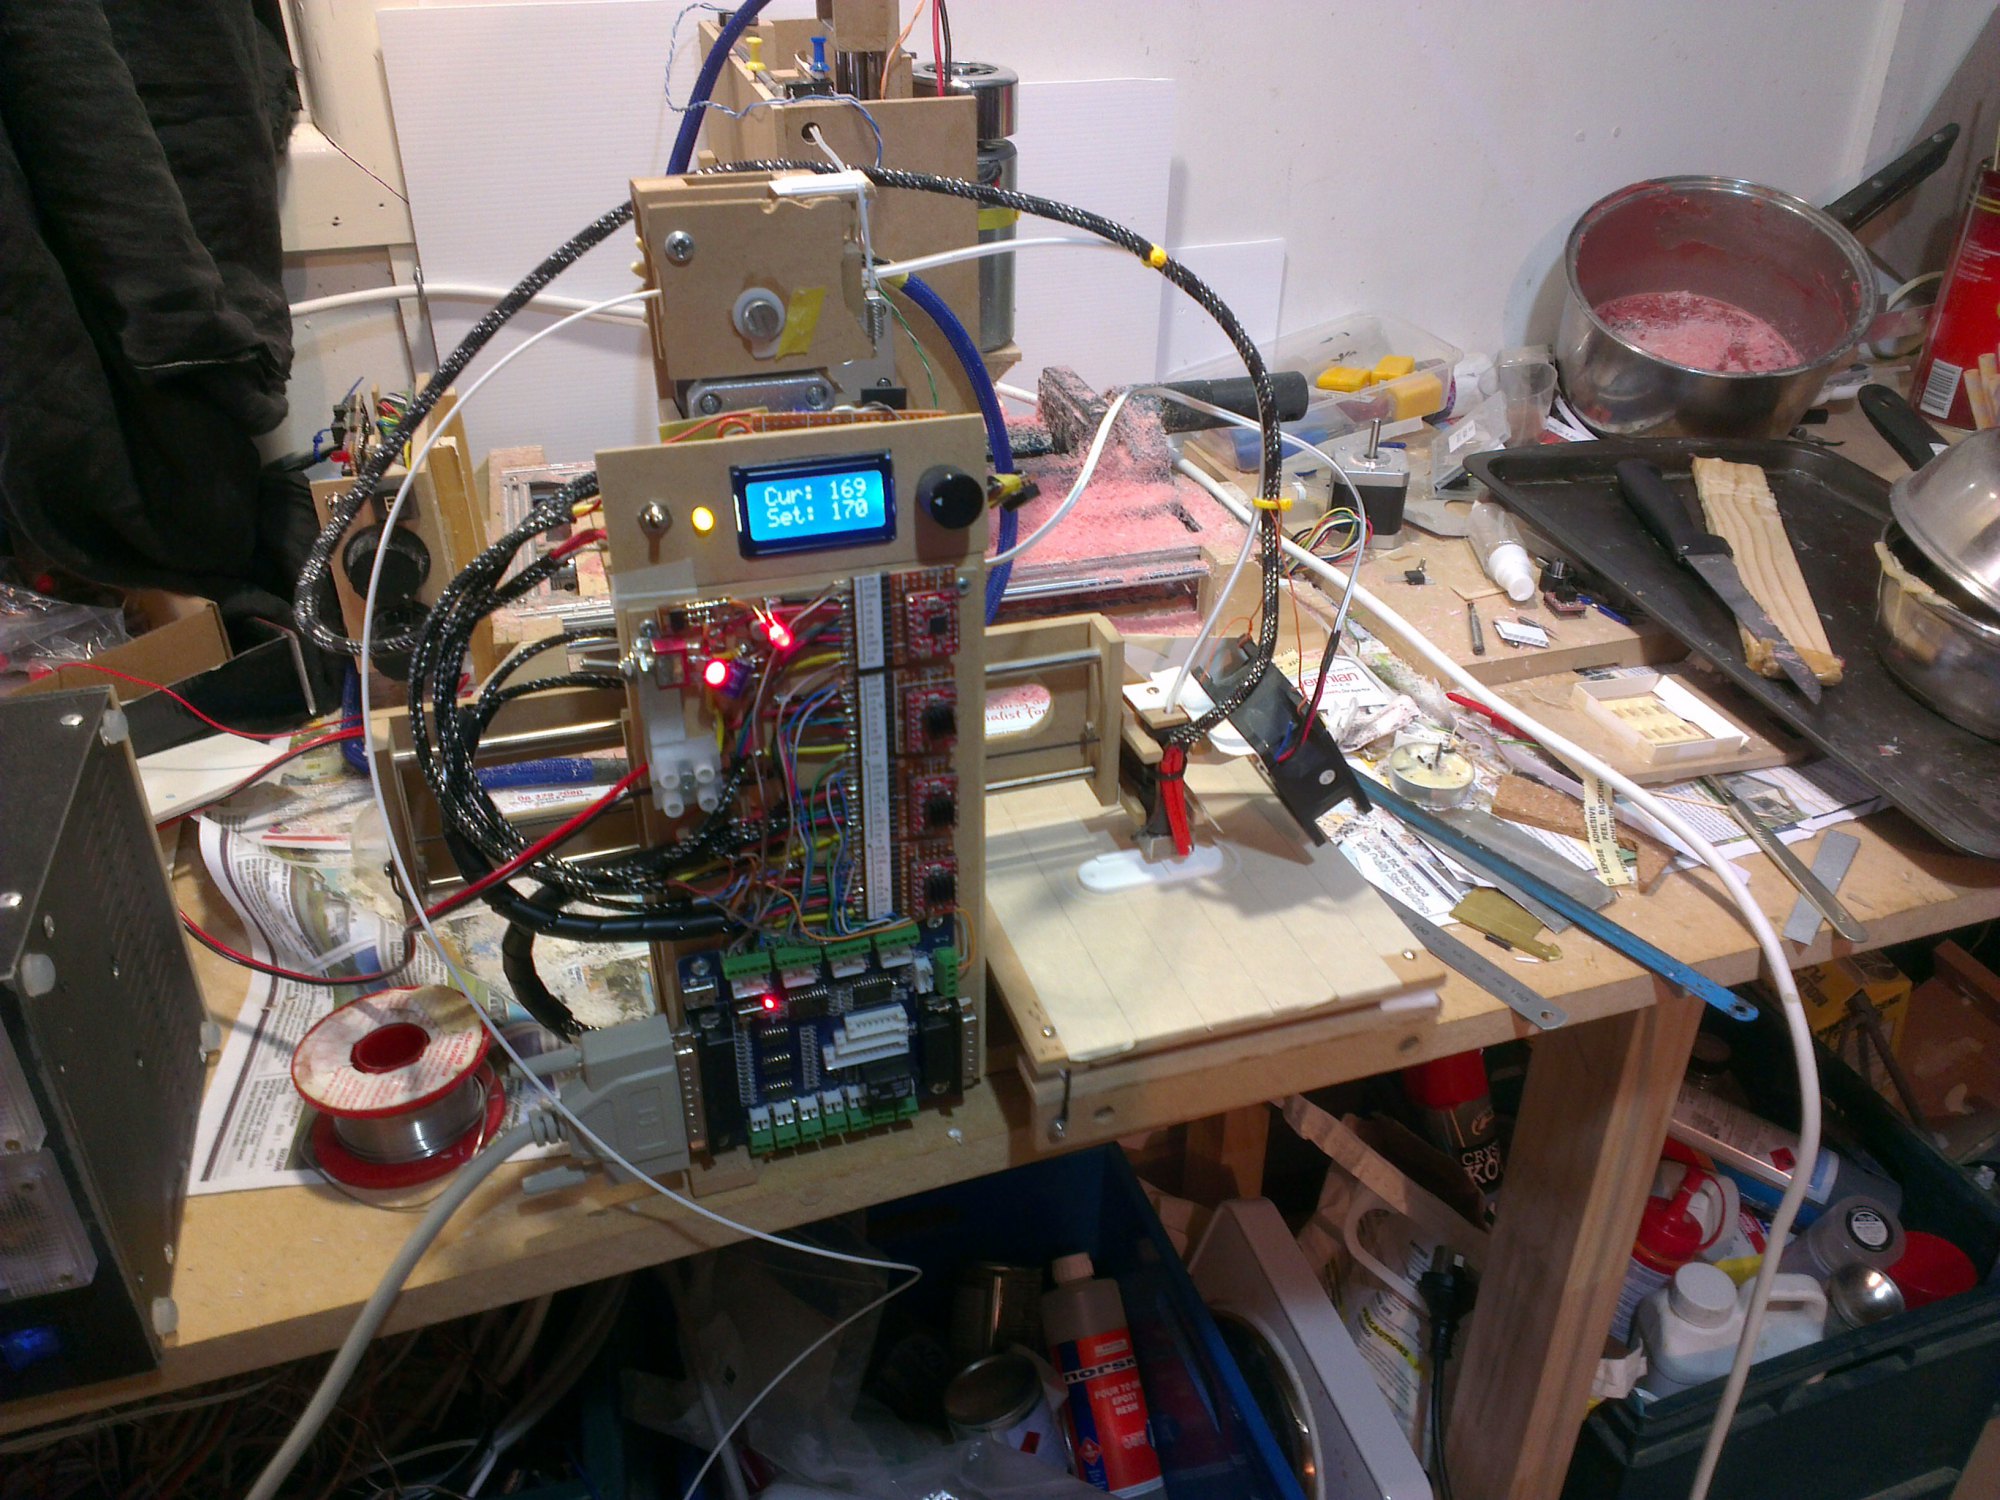
- Attach the heater to something. Since I wanted complete control over the heater with no risk of a firmware bug causing the heater to get stuck on, melting the fairly expensive hot end, I originally made the heater as a separate standalone control board, with its own readout and temperature control knob. All it requires is a TTL signal to turn it on or off. So that was easily hooked up to the "coolant mist" signal in LinuxCNC.
With the hardware hooked up, limits entered, homing values corrected, and steps per mm calibrated, I now had a mostly functioning machine.
Next step is to convert the output of Slic3r into something LinuxCNC would understand. This involved:
- Changing the extruder axis to U. This can be done in the Slic3r ini file.
- Changing the fan on/off codes to spindle commands. Easily done with a sed script.
- Removing the M82 "absolute coordinates" M code.
- Changing the heat codes to coolant codes.
All up my shell script looks like:
#!/bin/sh
#
# REPLACEMENTS
# fan       => spindle
# temp      => coolant
# M104 Sxxx => M7 ; set extruder temp    => turn mist coolant on (M8 = flood coolant)
# M104 S0   => M9 ; turn off temperature => turn all coolant off
# M106 Sxxx => M3 Sxxx; fan on to Sxxx (0-255) => start spindle clockwise
# M107      => M5; fan off => turn off spindle
# M109 Sxxx => M3 Sxxx ; set extruder temp and wait => start spindle
#
# REMOVALS
# M82 ; use absolute distances for extrusion

cat $1 | sed s/'M104 S0'/M9/ | sed s/M104/M7/ | sed s/M106/M3/ | sed s/M107/M5/ | sed s/M109/M3/ | grep -v ^M82
.. which handles the quirks of converting Slic3r into LinuxCNC GCODE.
How does it work? Well, it is fast. It is too fast in fact; the poor upgraded extruder motor just can't shove enough molten plastic out the nozzle fast enough! So I have to run it at 50% speed, or print less plastic each layer. Printing less plastic each layer means printing smaller layers, which gives better quality, so that has been a nice benefit, as now I can print t higher quality, significantly faster than before.
And has it fixed the problems from before?
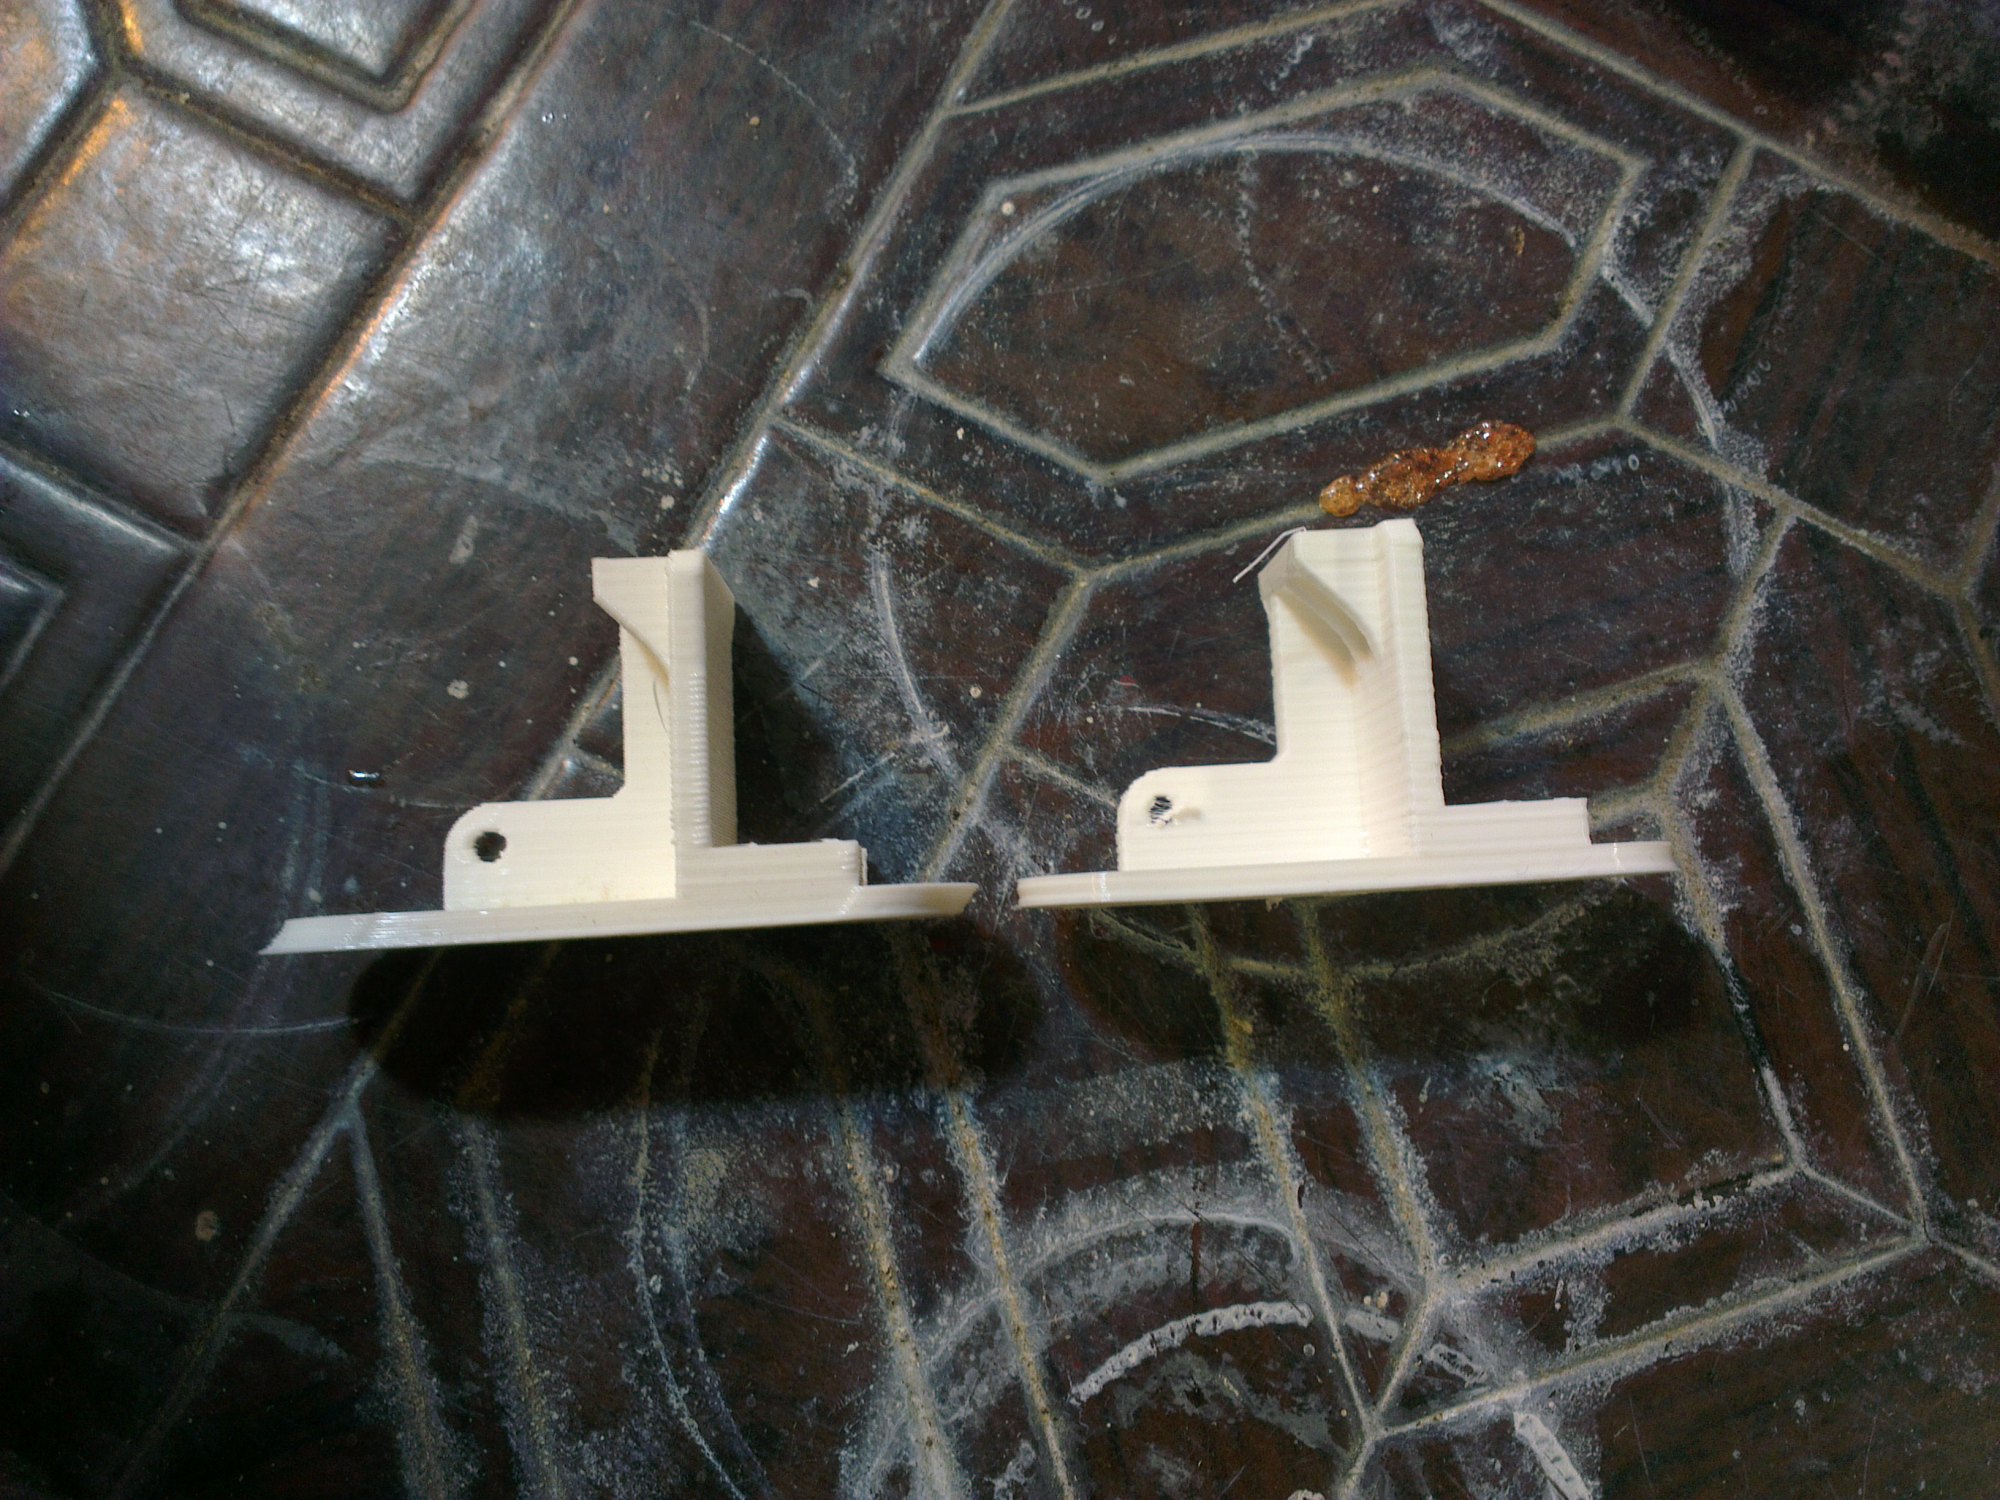
Old is on the left, new is on the right. So yes, it has.
So by using LinuxCNC I get:
- Proper homing
- A handy slider to control the speed of the print, in real time
- A neat graphical display of the print out
- Variable speed fan control
- Much faster printing
- Smoother printing, with proper acceleration; no longer does it slam into each new movement like Teacup did
The rubber bands that clamped the filament against the extruder wheel perished over the summer, so I replaced them with a couple of old printer springs and a cable tie. Hey, it works!
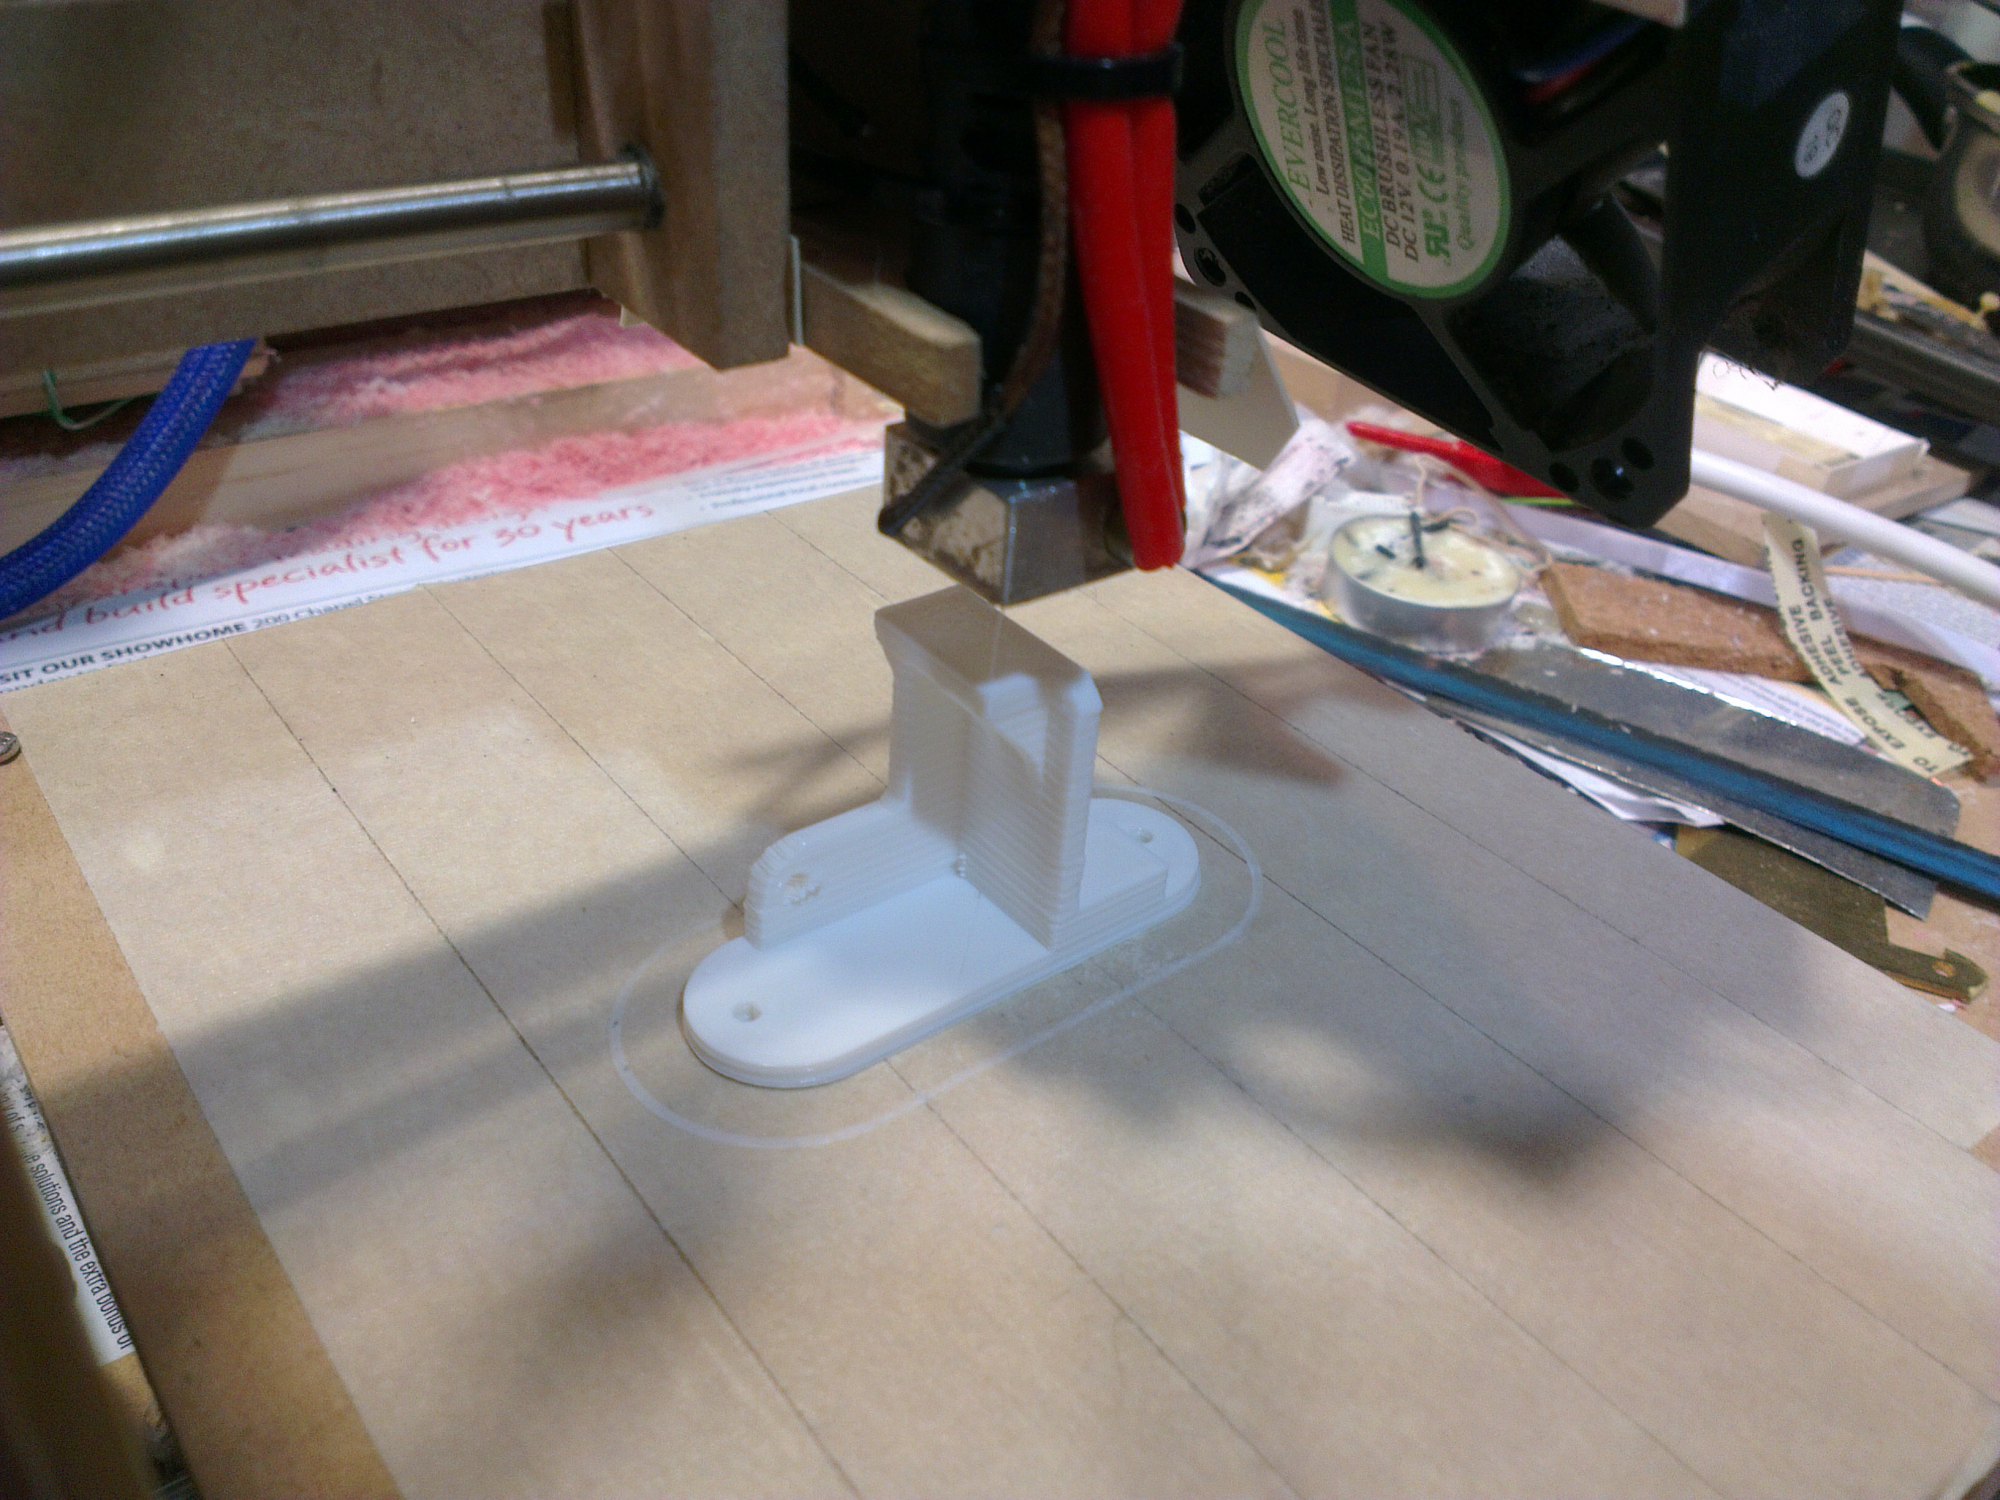
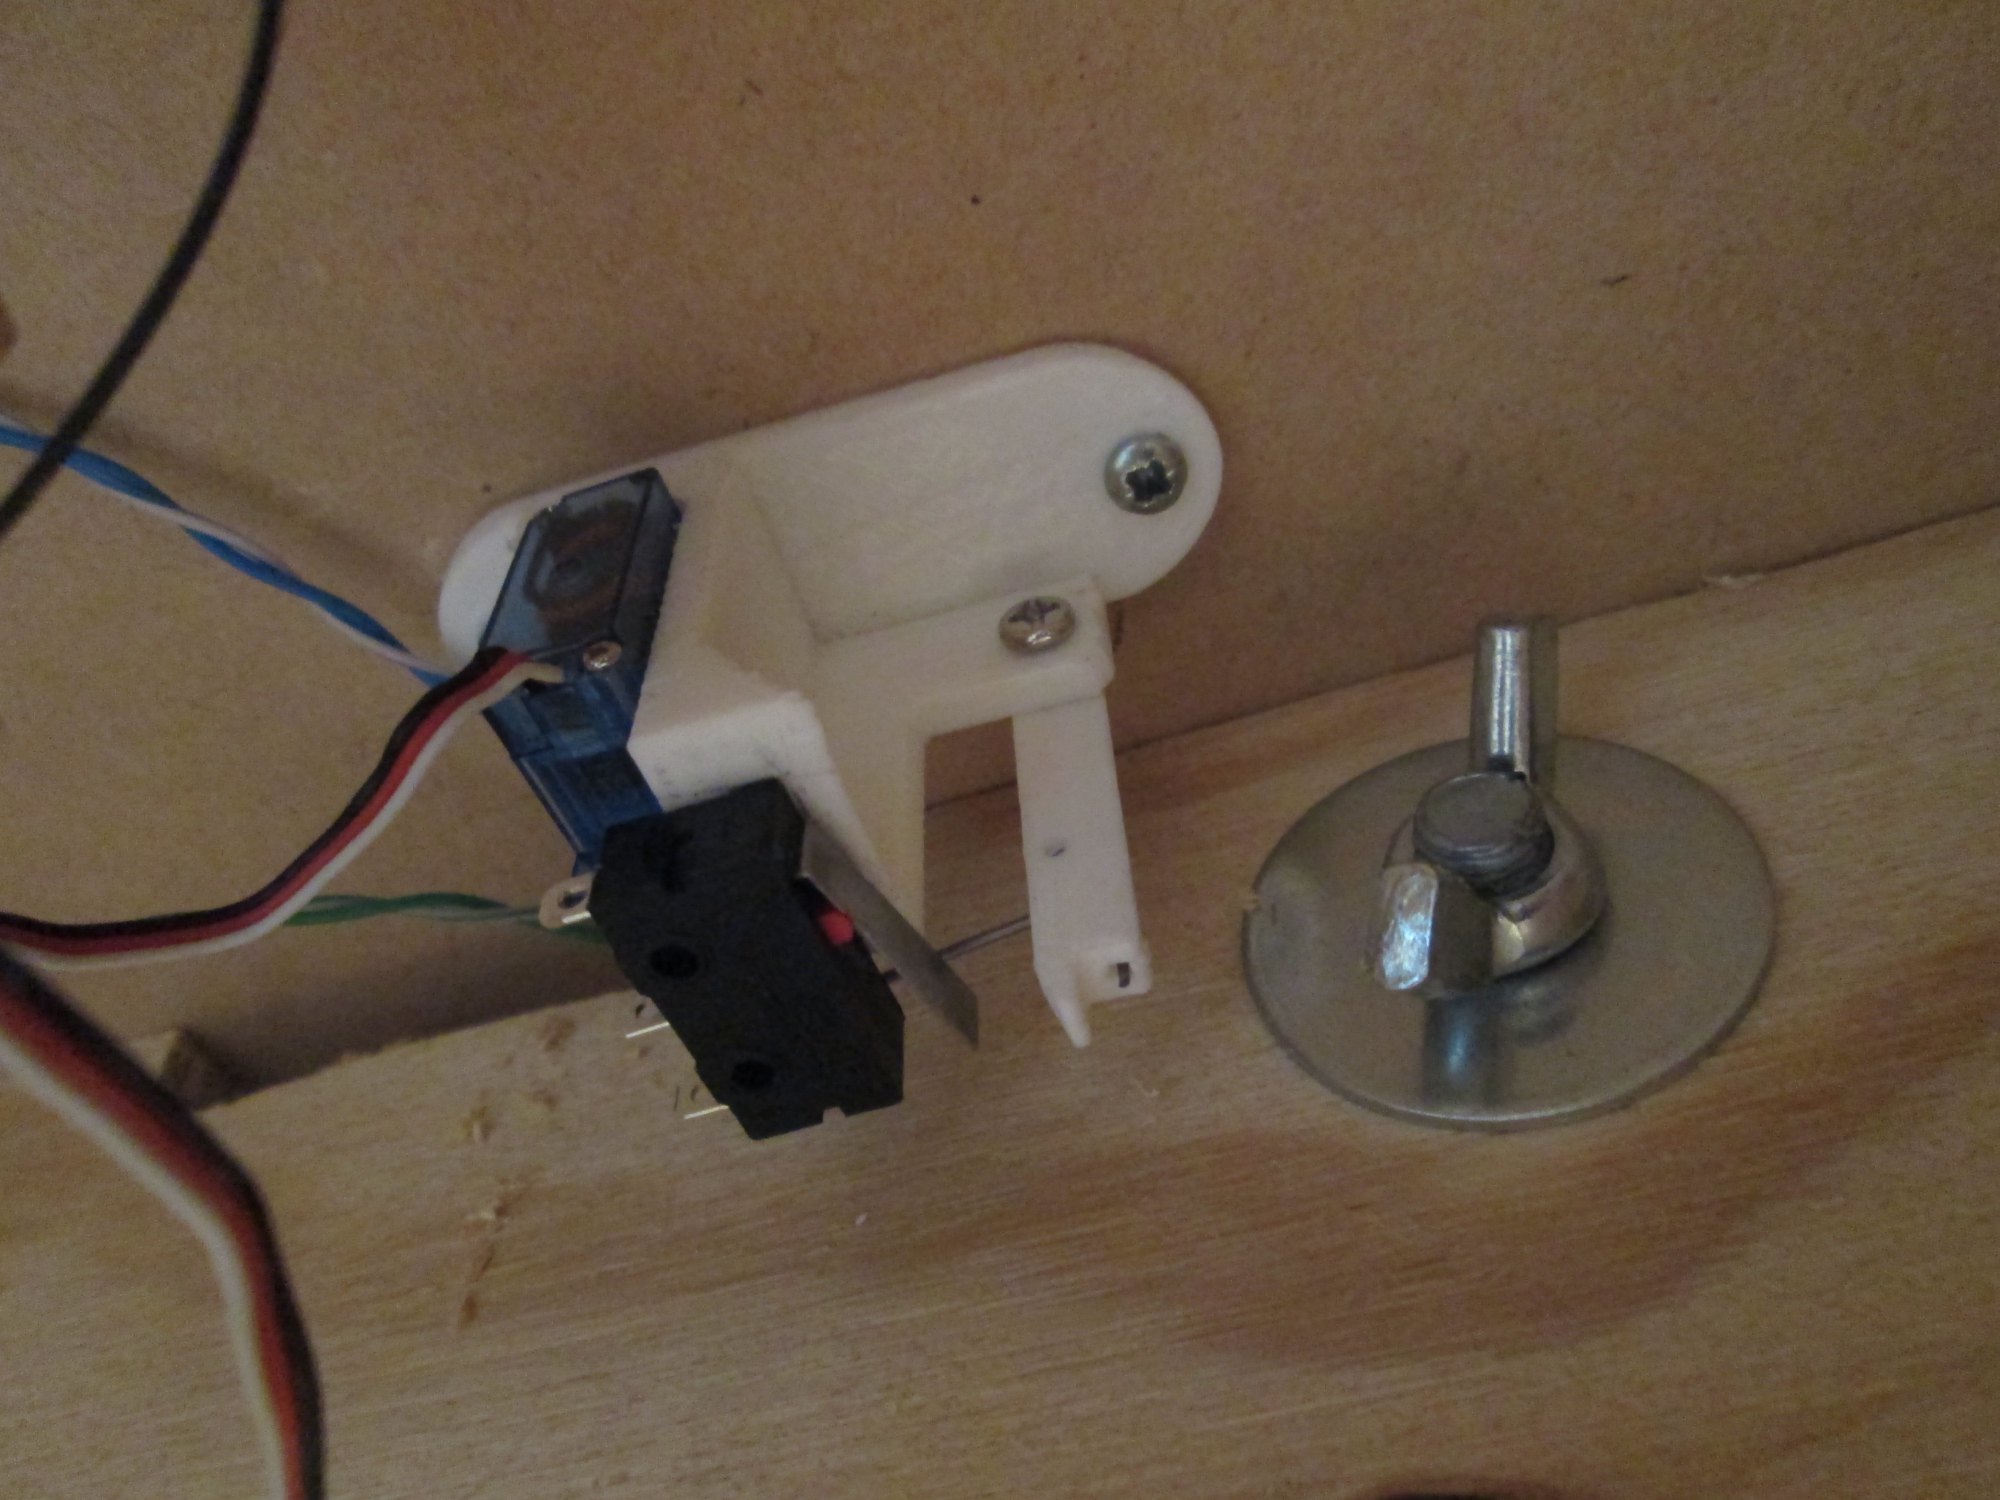
As for what I'm printing above, they are servo mount mechanisms for my model railway:
Comments
Leave a comment?