
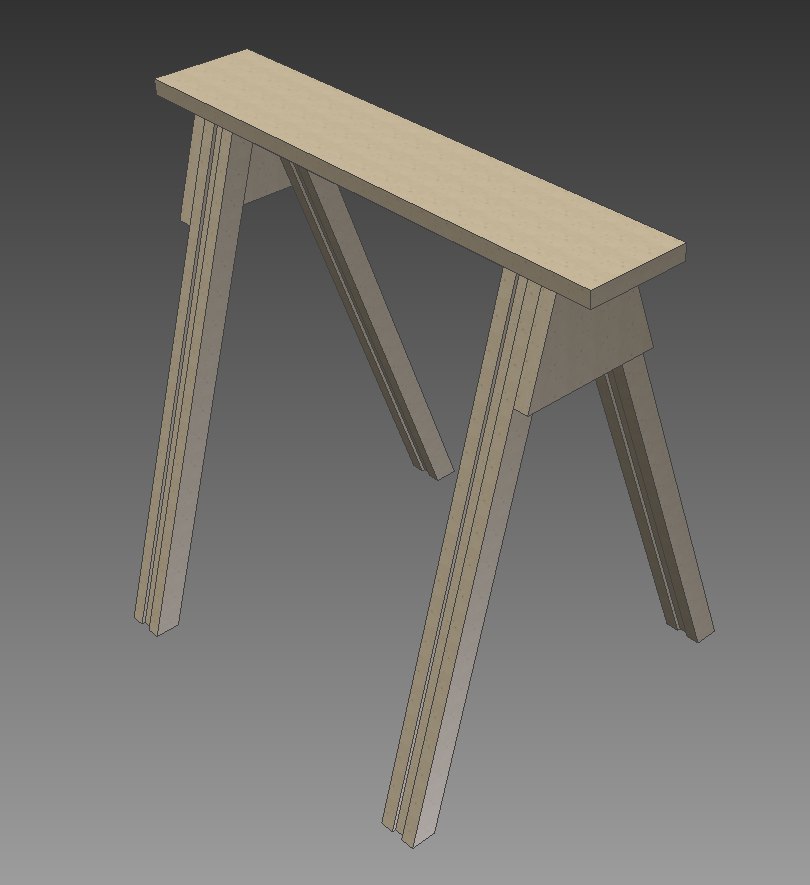
Saw horses
Having just bought a house, I'm back in full DIY mode again. And as everyone knows, DIY requires saw horses! So knowing that I would be needing a couple in the near future, I sat down with AutoDesk Inventor and quickly drew up a simple design, based on timber that was in cheap and plentiful down at The Ply Guy.
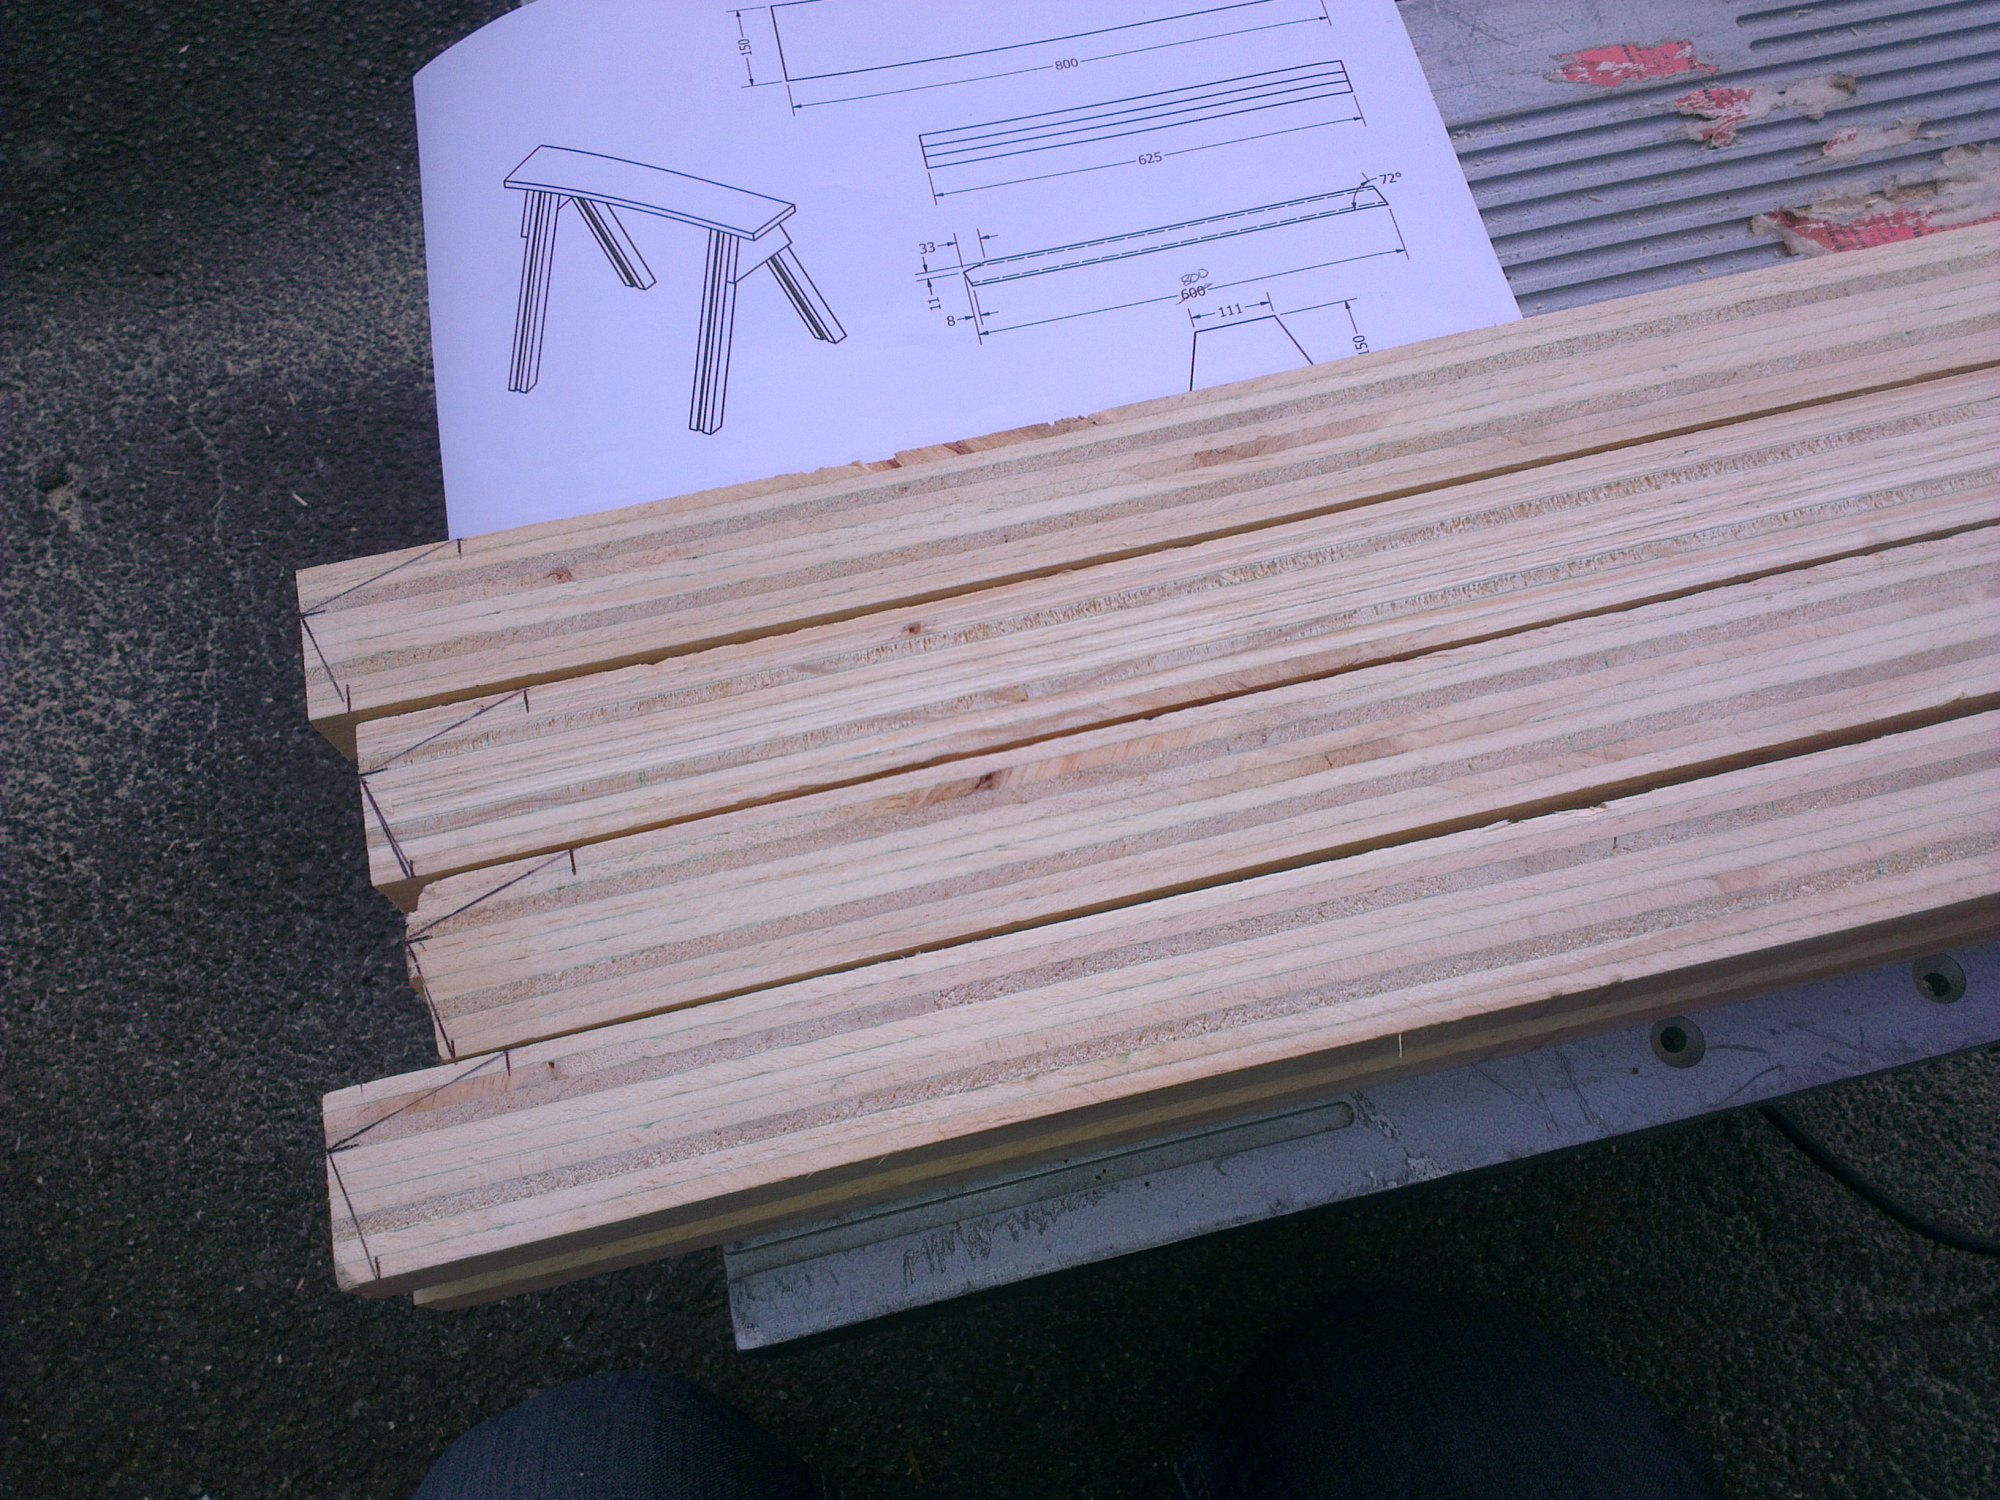
And a few minutes later I had a set of plans ready to go:
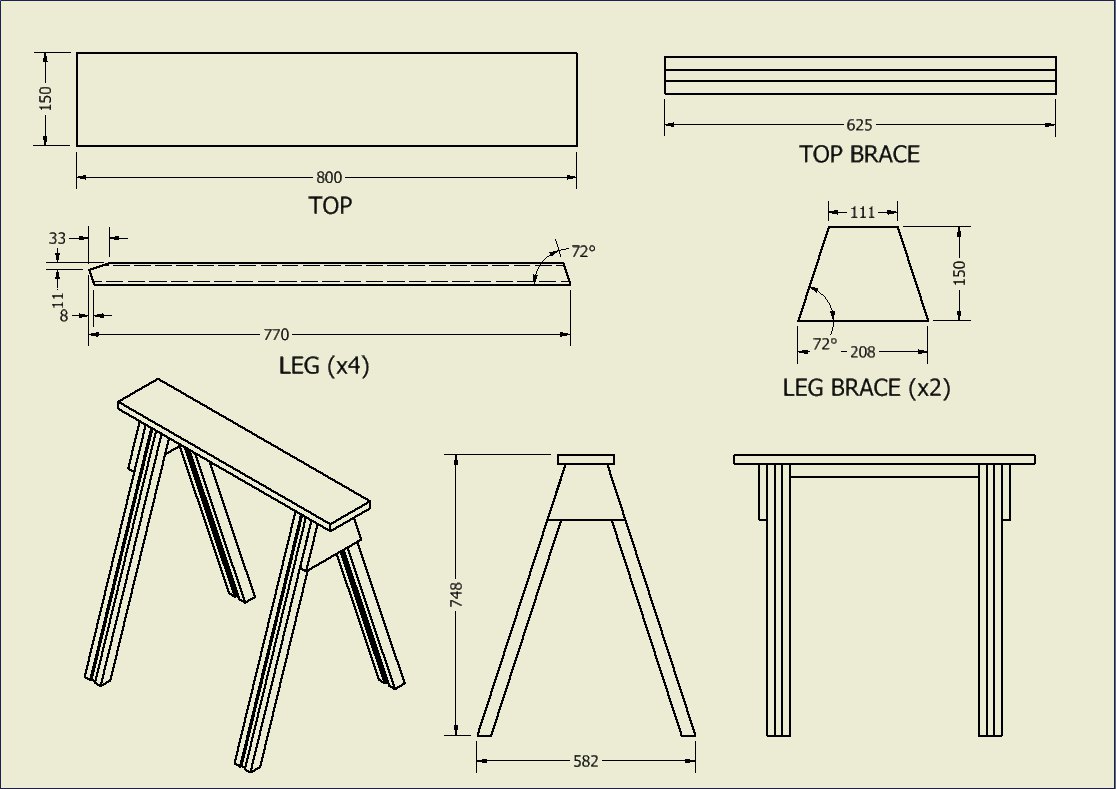
Timber used:
- 1x 2410x300x23mm industrial ply shelving
- 4x 2700x65x40mm reject grade LVL timber (LVL = Laminated Veneer Lumber, a super strong engineered wood, basically thick ply)
- Small length of 150x10mm ply
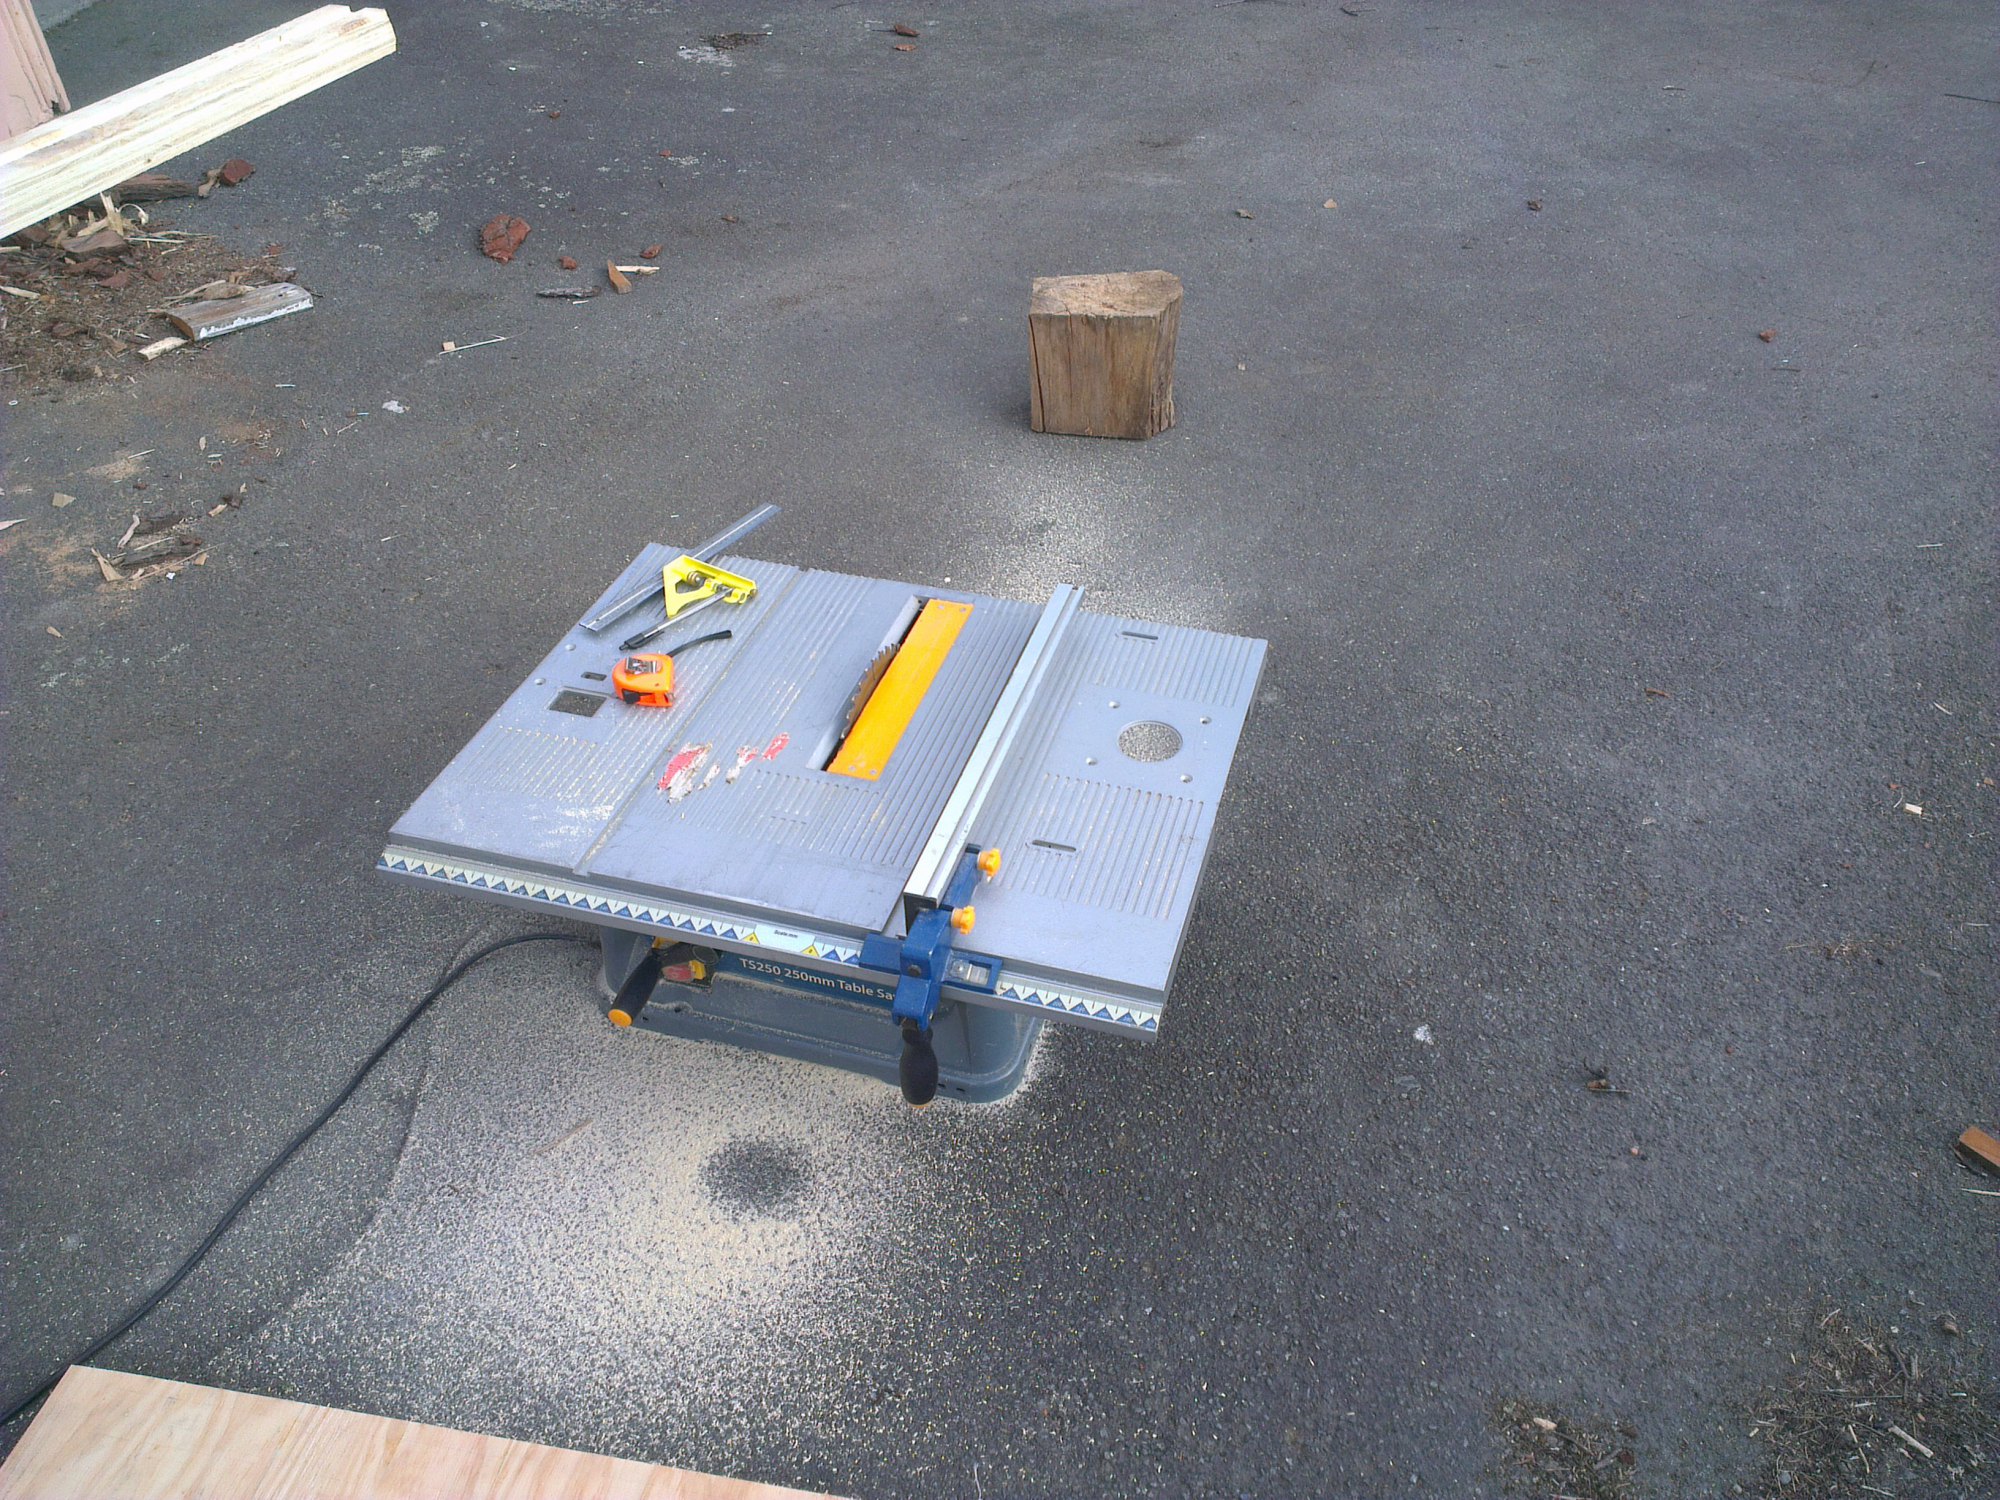
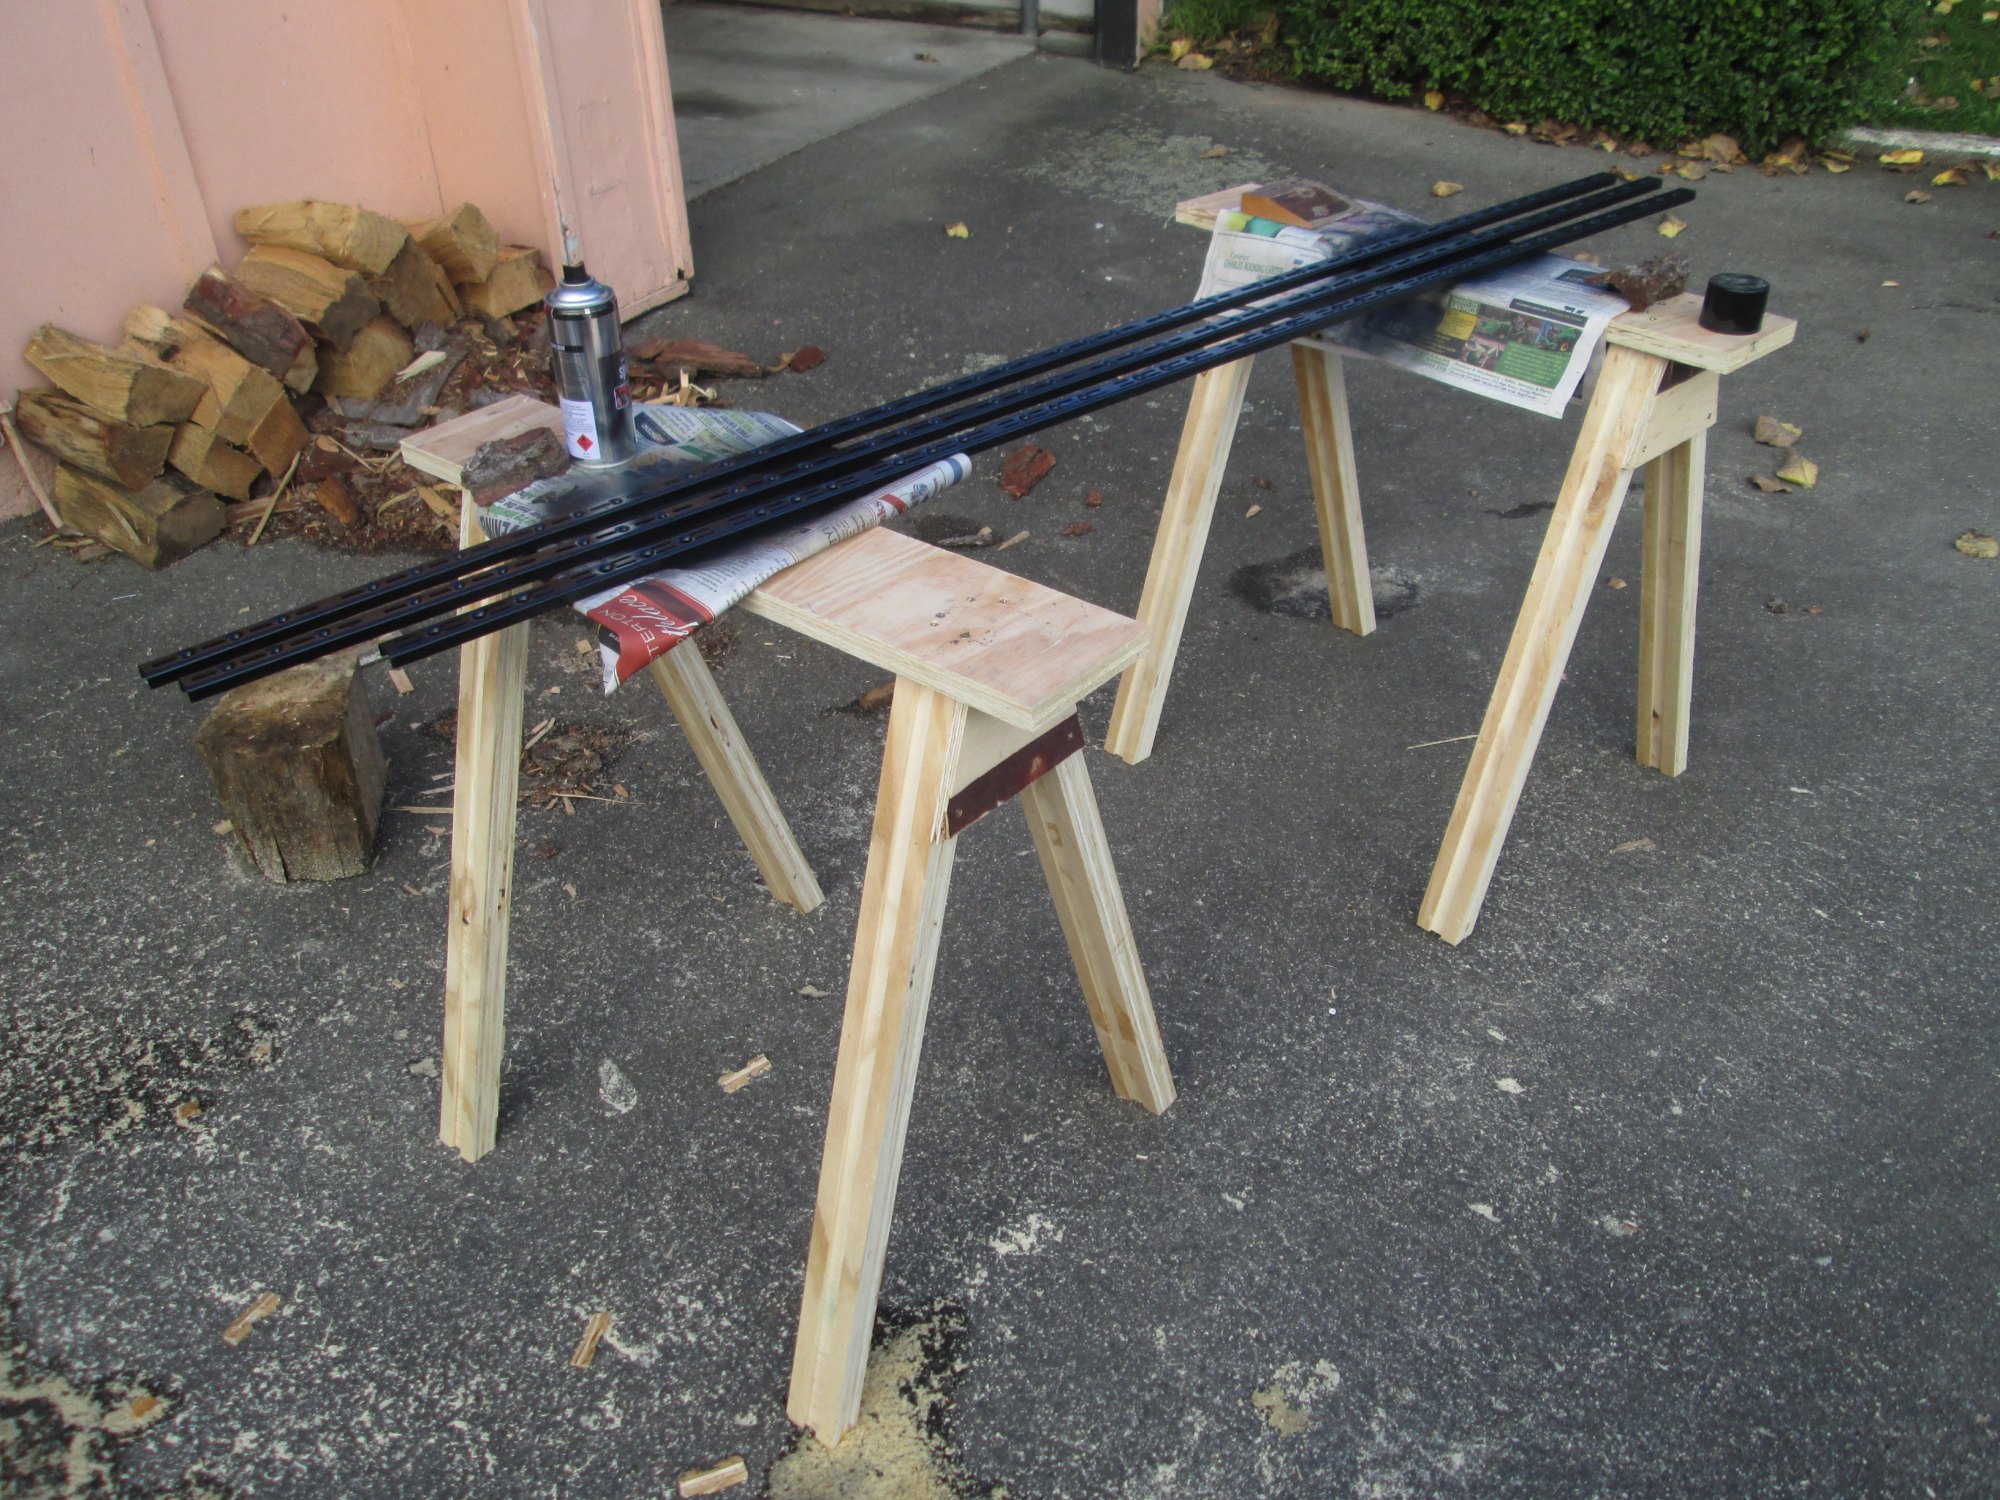
$20 of wood later and I was ready to get building. First up I ripped the 300mm ply shelving into 150mm wide bits 800mm long for the top of the saw horses. Table saw made short work of that.
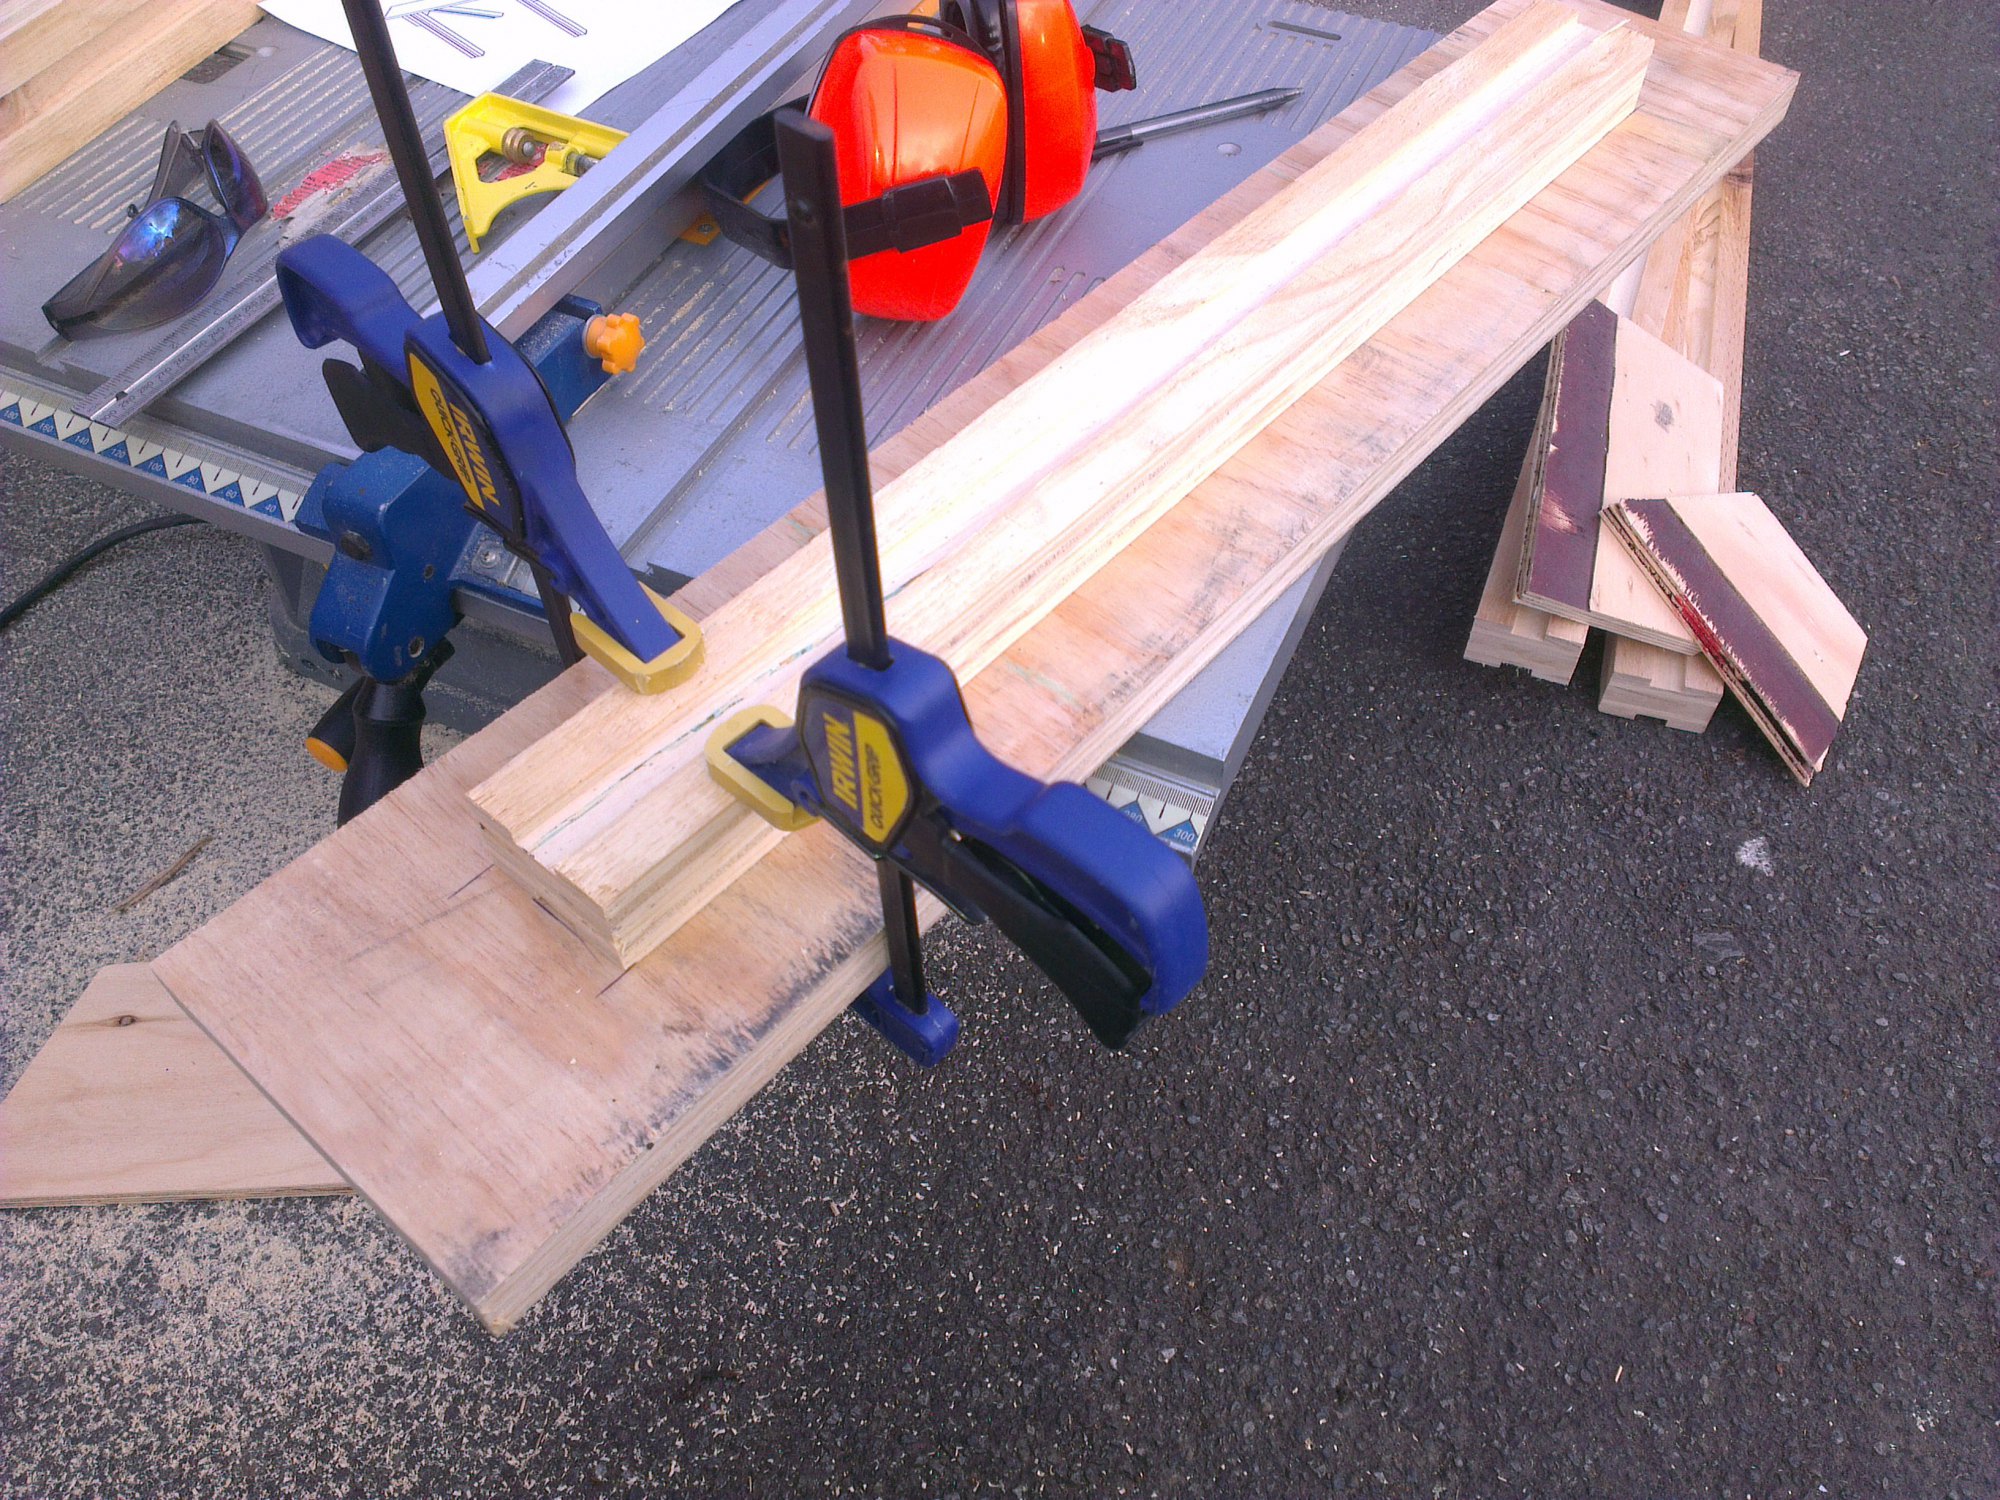
Then I made the brace under the top of the saw horse from the LVL. Next up some legs... these were a little fiddly with all the angles, but step by step it's easy enough.
First I trimmed them to length (770mm).
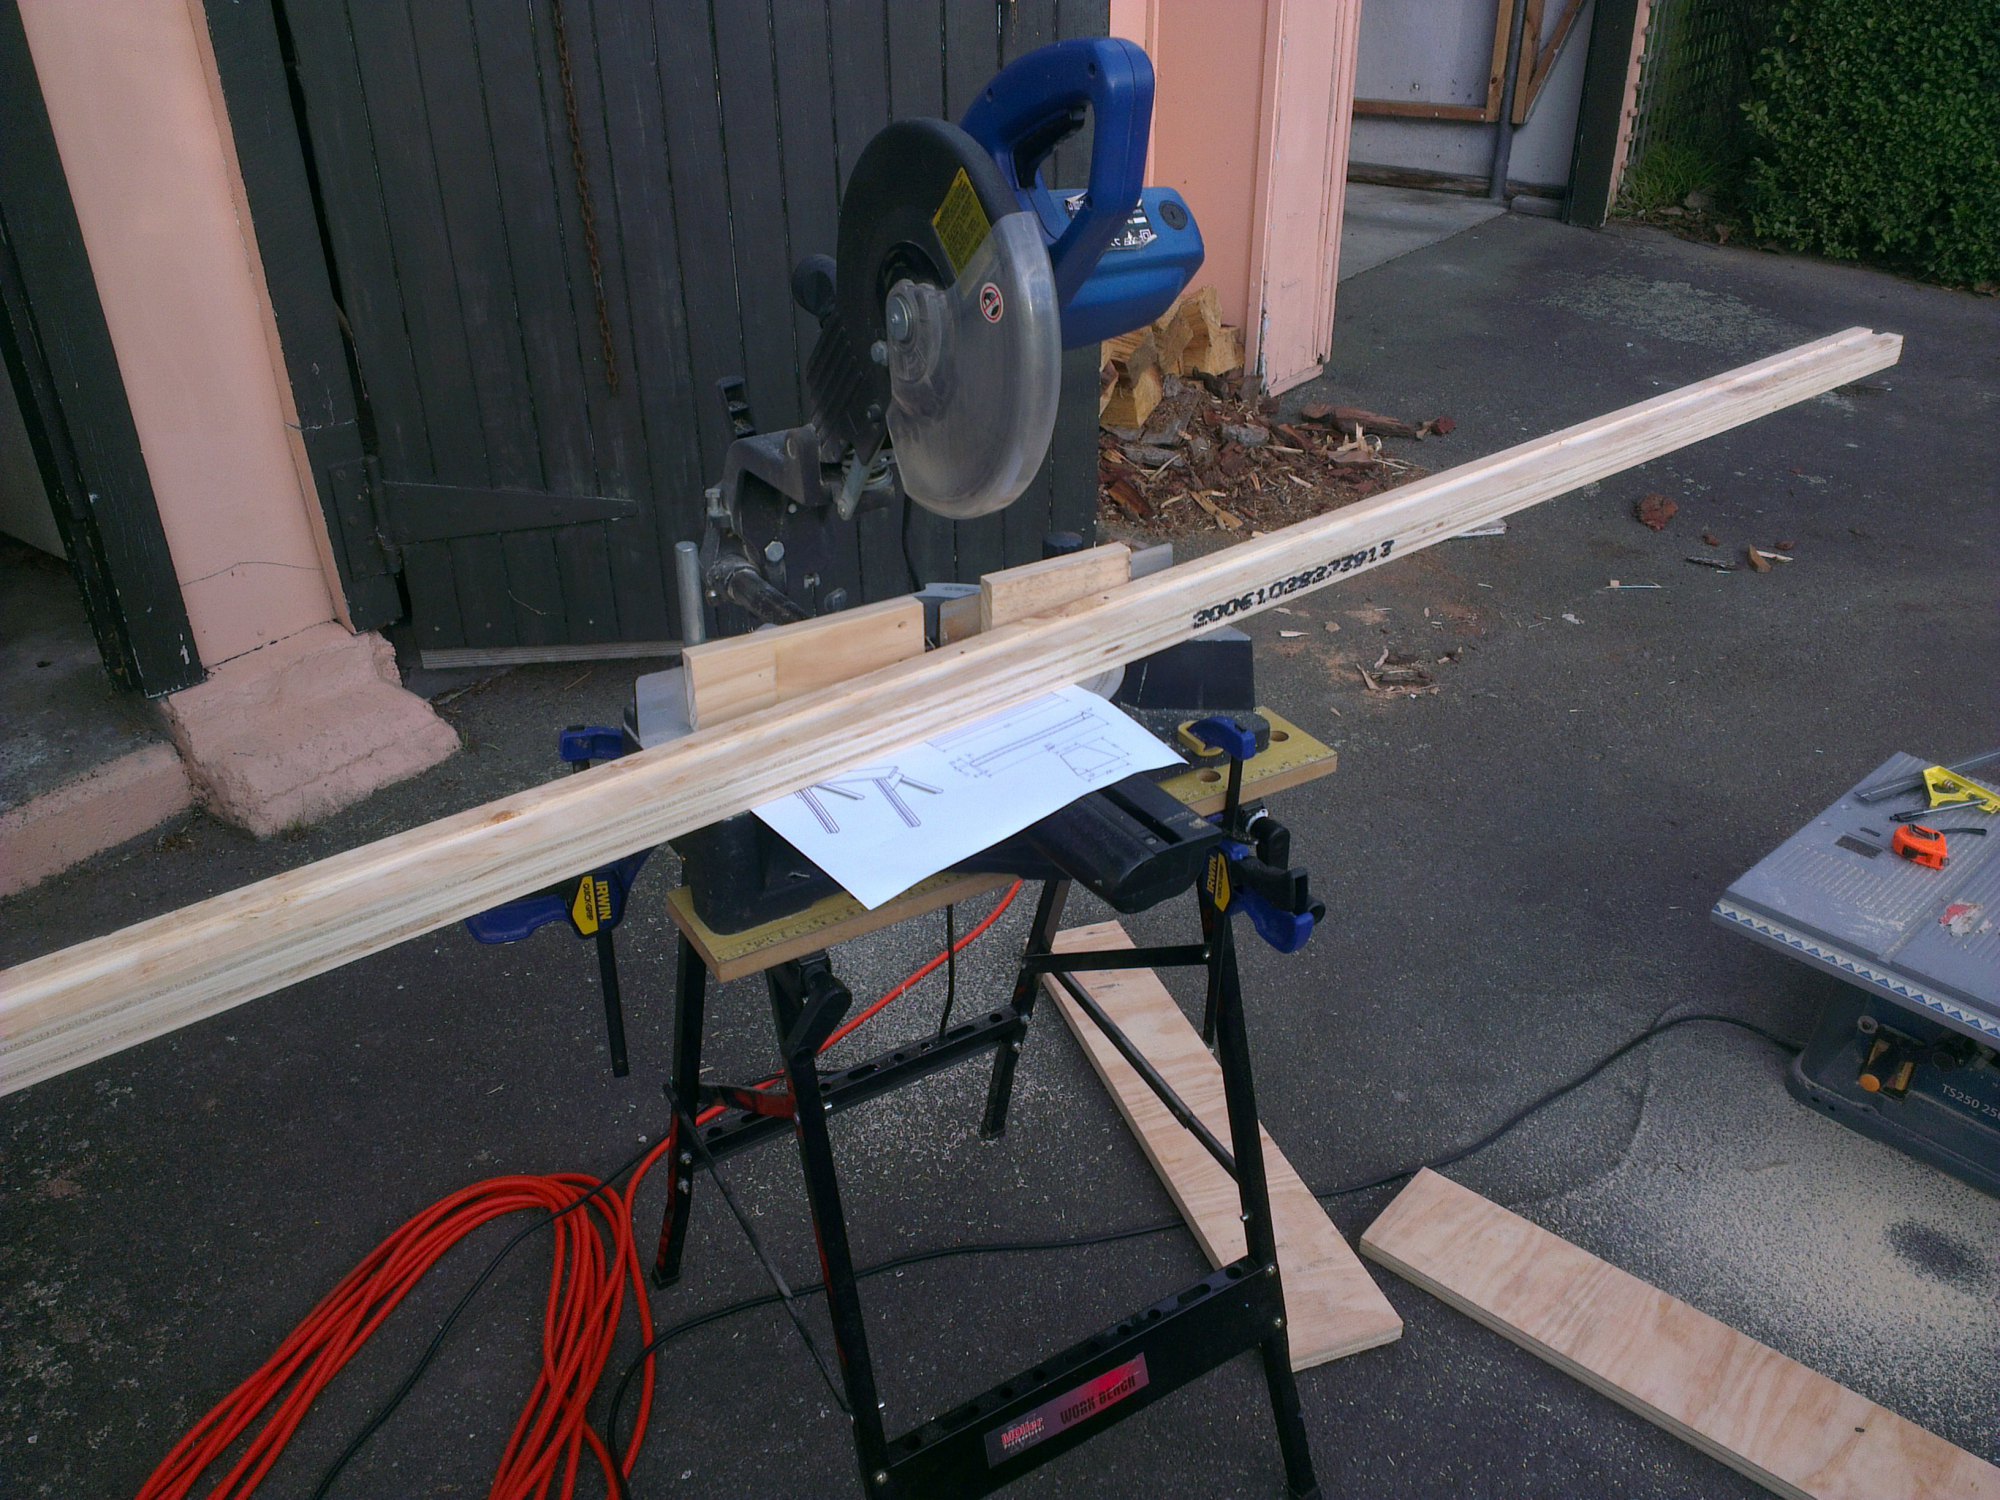
Then I marked out the measurements for the angles on the top:
Then quickly cut them out with the drop saw.
Next came assembly. The brace and top were easy enough, just position, clamp, drill and screw:
Leg assemblies were a little more fiddly and Rachel gave me a hand with the clamping and positioning. I positioned the legs at the right angles, then used some offcuts to mimic the top brace, and clamped everything down nice and tight.
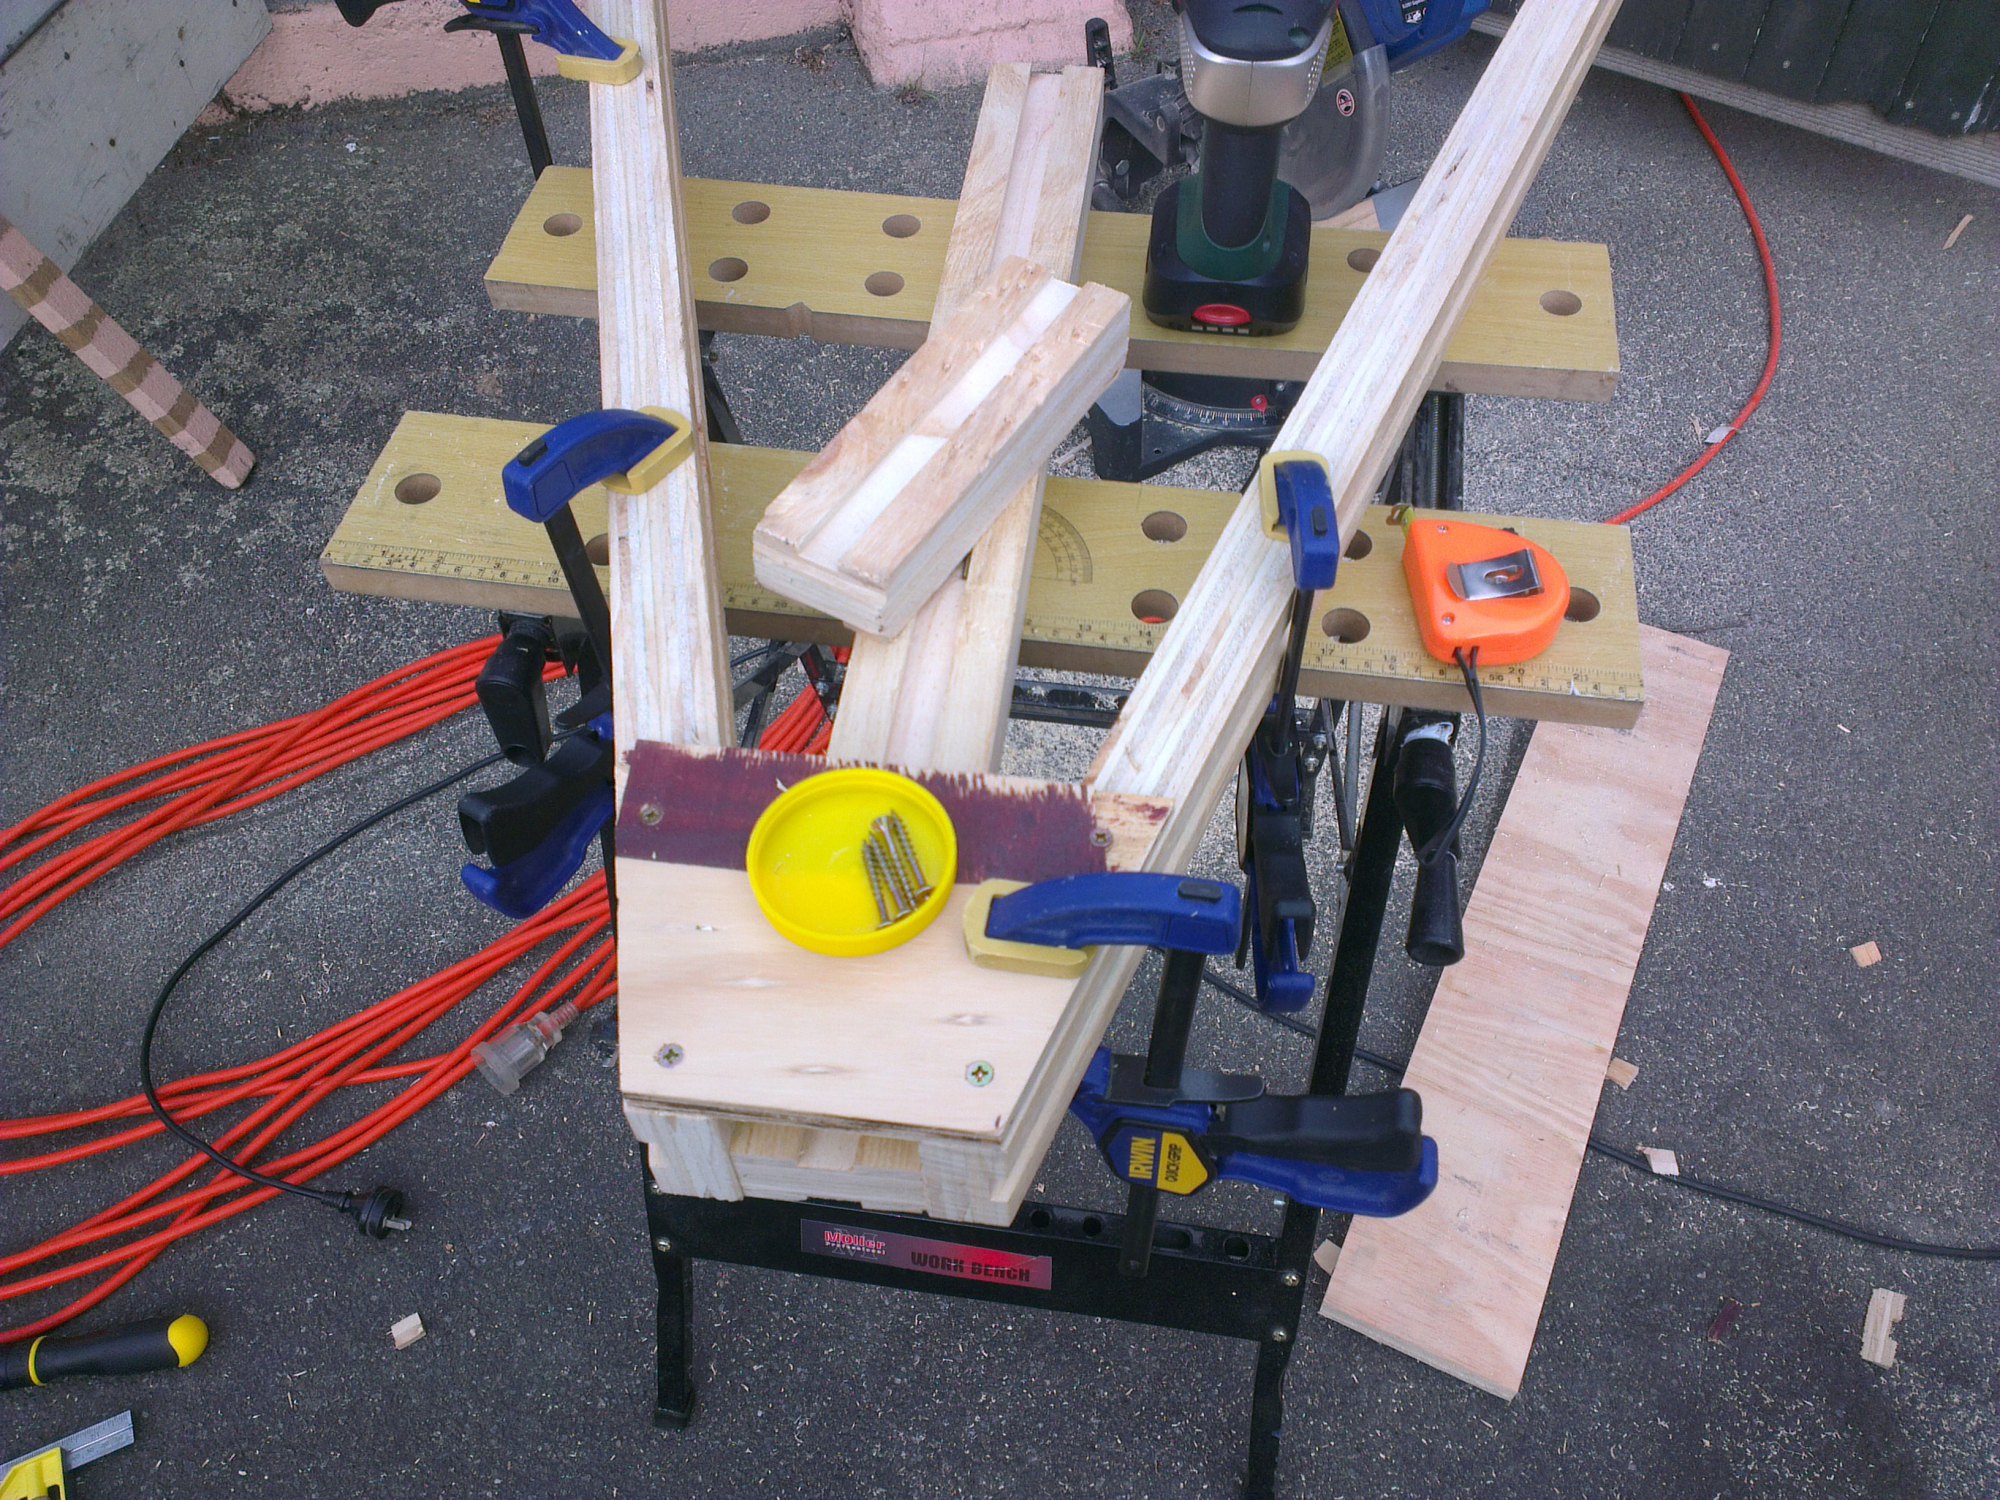
A few screws later and I had some leg assemblies.
To finish things off, I held up the legs and lowered the top assembly onto them. Worked perfectly and even without any fastening it was pretty sturdy.

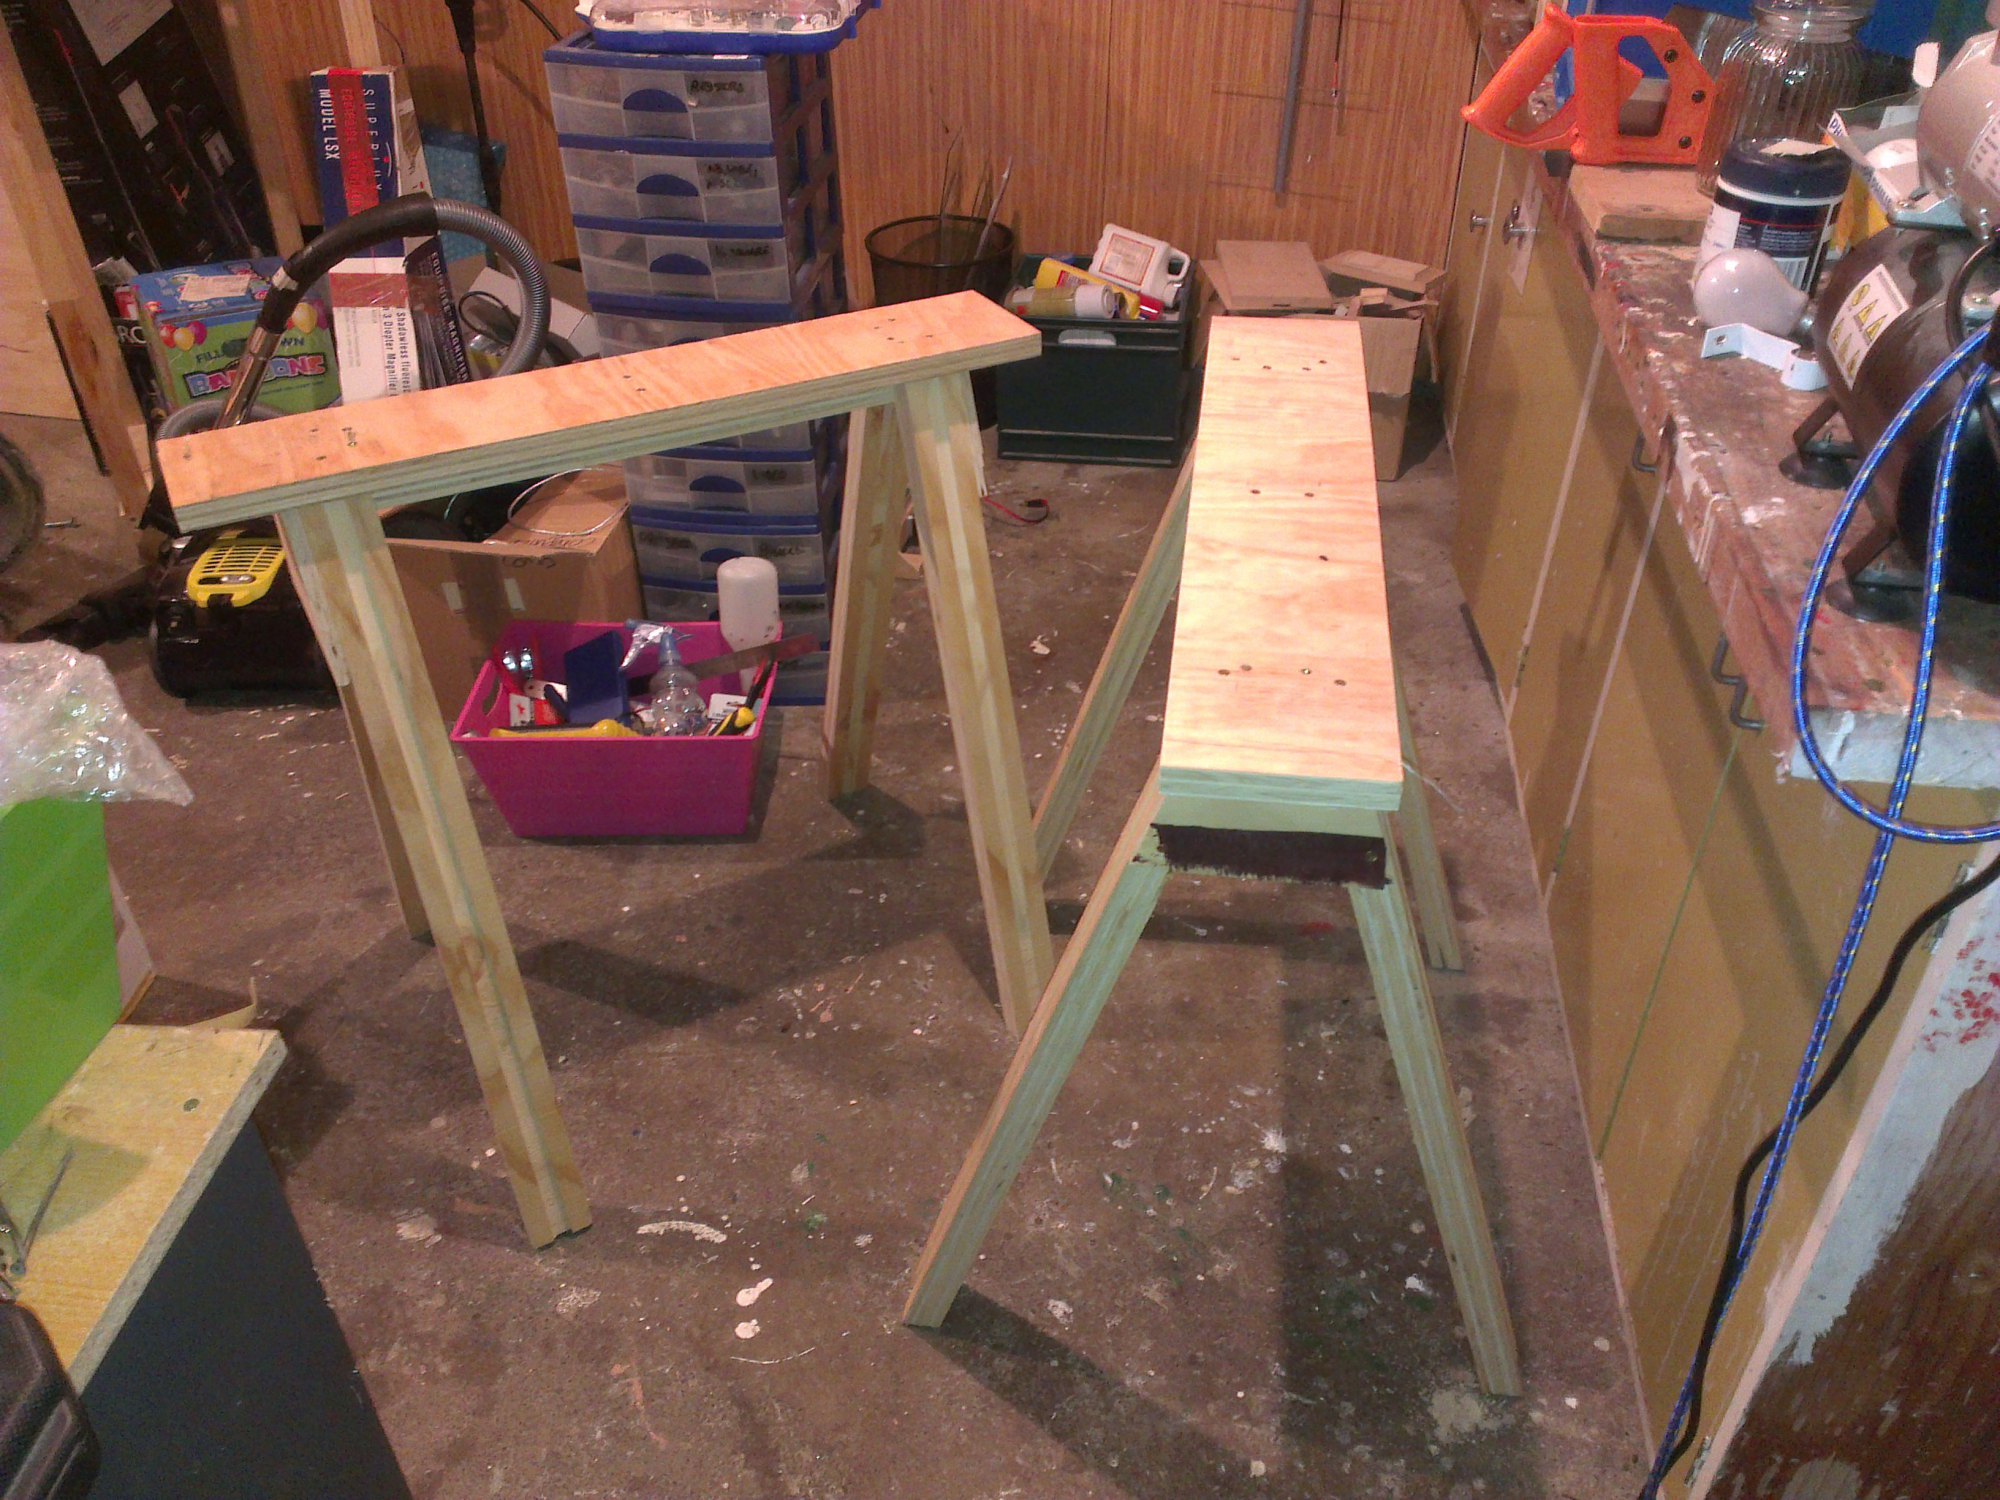
Rachel braced things while I whacked in the rest of the screws, and in the space of 2 hours, two saw horses had sprouted! Here they are the next day already being pressed into service:
Comments
People often speak about how difficult it can be to get started on a online business. Individuals who tend not to understand the main advantages of managing a home-based business are skeptical regarding the income potential. This post gives some great advice on achieving success along with your home based business.
Create an elevator pitch for your business. This soundbite can impress your clients and drive home your core focus. You may even shorten it right into a slogan!
Always have a separate phone line to your business from your own home phone line. You want your company to look professional plus, you wouldn't desire a kid or somebody else not linked to your enterprise to reply to the organization phone.
You will find valuable support groups from like-minded individuals on the Internet. These are generally excellent for networking, plus they may help you construct your logo and product names up. You might even find some potential partners or some leads.
Get incoming payments deposited into your account immediately upon receipt. Don't wait weeks or months to deposit payments practice it no less than every day or two. Tend not to leave any checks lying around instead, ensure you deposit them. Go within the deposit and bank with the employee. When you go inside you may be certain it is in your account, aTM machines could make mistakes.
Find support for your personal work from home business through online forums with some other home business owners and operators. There are lots of websites for people who own a web business, and the information about these sites is valuable. Here, you will find those who have been through what you will be currently experiencing, and quite often they are more than happy to share their techniques or supply tips to help you out.
Anyone with a flair for your artistic can find work in graphic design. Designing for businesses is extremely profitable, especially if you possess the skills. Don't overlook this competitive advantage.
You want a separate PO Box setup for your residence based business. Your home address is definitely the worst address to work with when doing business online. It will help safeguard your identity plus the identity of your respective family.
You can find forums for home based business owners that the majority of them visit daily. Try reading forums which are both dedicated to your target market as well as those outside of it. Helpful advice about running home based businesses sometimes comes from unexpected places, especially even businesses which are not inside your niche.
Good liability insurance is important if you have a residence business enterprise. Once you have clients directly into your business, this is certainly much more important. You will certainly be protected when someone posseses an accident in the property.
With one of these helpful suggestions, it really is possible to experience a successful online business. Like anything, understanding the proper information and getting the motivation to be effective is necessary for achievement. While using powerful tips here, you can generate a good living without ever leaving your property.
https://thetrueone1.blogspot.com/2019/06/oody-geffen.html
oody
Leave a comment?