DIY earrings
Recently it was my six month anniversary with Rachel. She'd been dropping many "subtle" hints about all the things I should buy her to celebrate, but why buy when you can make?? So since jewellery featured so prominently in her wishlists I decided I'd make her some earrings. After tossing around a few ideas I happened across my old metal casting gear and half a white metal ingot, which gave me the idea of casting some earrings. And so with much vigor I launched into my next project.
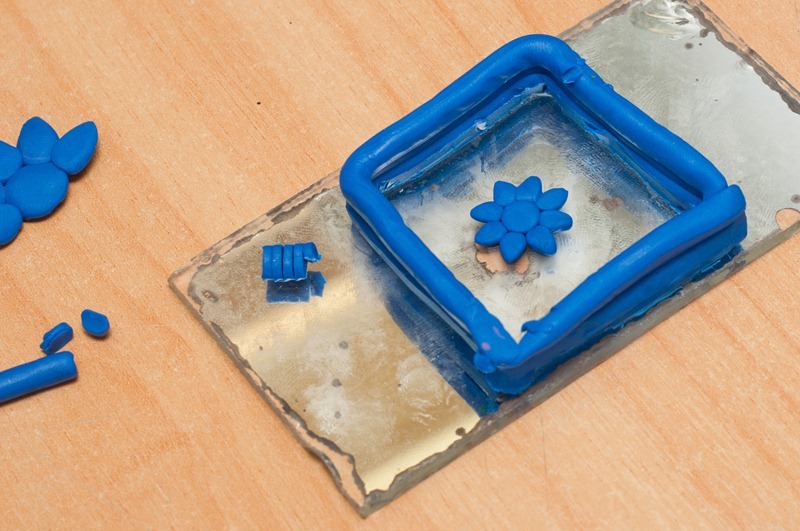
Step one was to make a postitive to cast from. I dug out my trusty supply of blue plasticine and set to work. Working with a scalpel on an old mirror I made up positive and a box to hold the plaster.
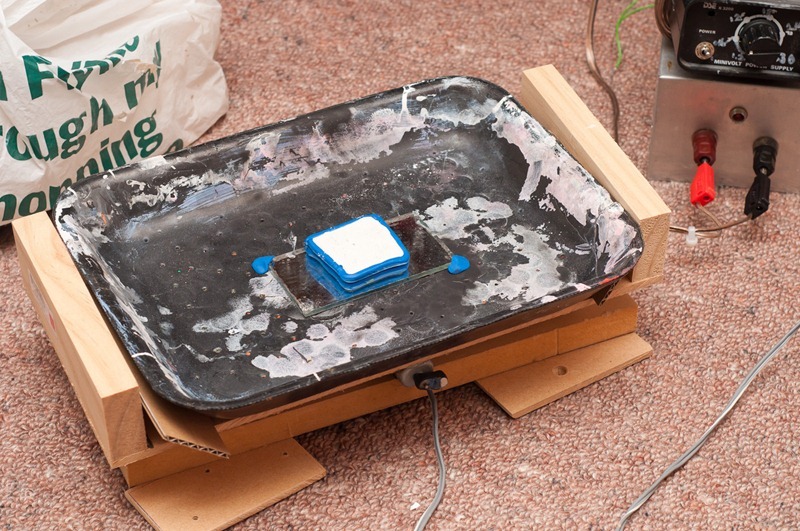
Step two was to make the negative. I poured some plaster into the mold and then put it on a vibrating table to vibrate out any air bubbles. The plastic tray is to catch any spills.
A few hours later it had set and so I released it from the mold to begin the drying process. I left it on top of my screen to slowly cook it over the course of the day, then left it on the hot water cylinder overnight. By the next morning it was feeling pretty dry and so I moved on to the next phase, preparing the mold.
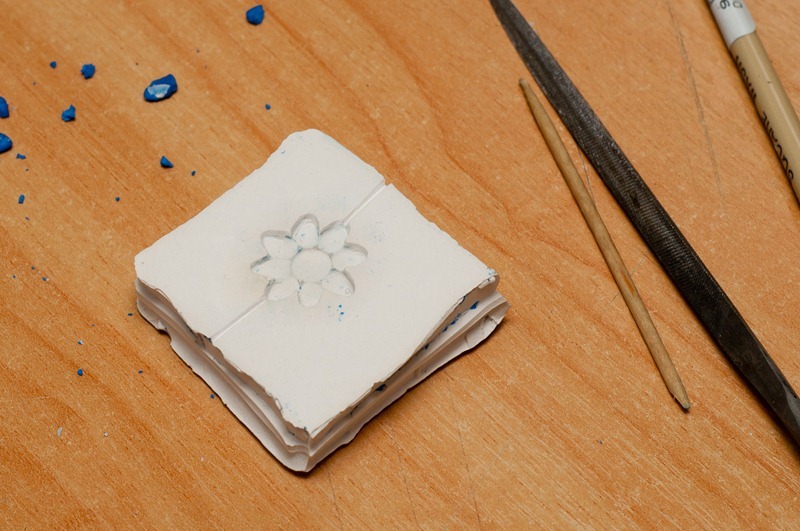
The plasticine had softened up after all the heat and with a toothpick I gently prised it out of the mold. I cleaned up the undercuts with a blade, and then in order to give the air in the mold a chance to escape while casting, I cut in two vent lines using a file.
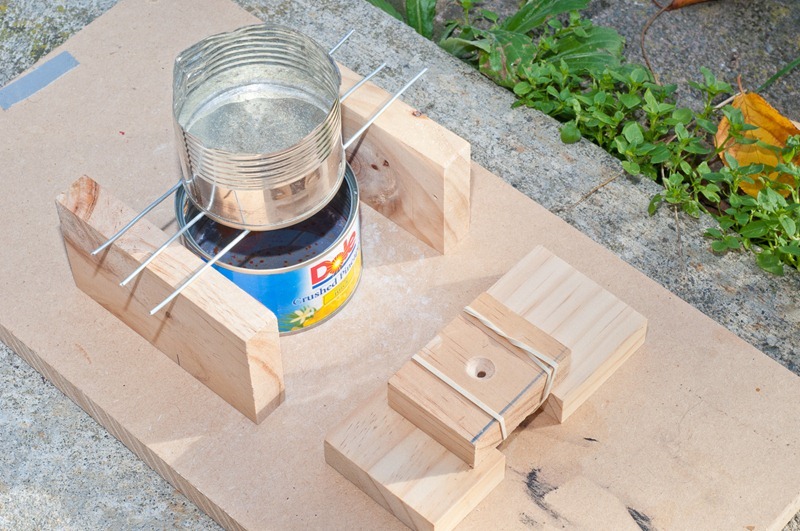
Then it was time to cast! I prepared a top for the mold by gently heating it with a gas torch to drive out any remaining moisture, as otherwise it is likely to crack when the molten metal causes it to suddenly heat up.I carefully positioned the mold underneath the plug and held it in place with some rubber bands. Then I poured some meths into a tin can to make a burner and started melting the metal. Once it was molten I carefully grabbed the tin with some pliers and poured it into the mold.
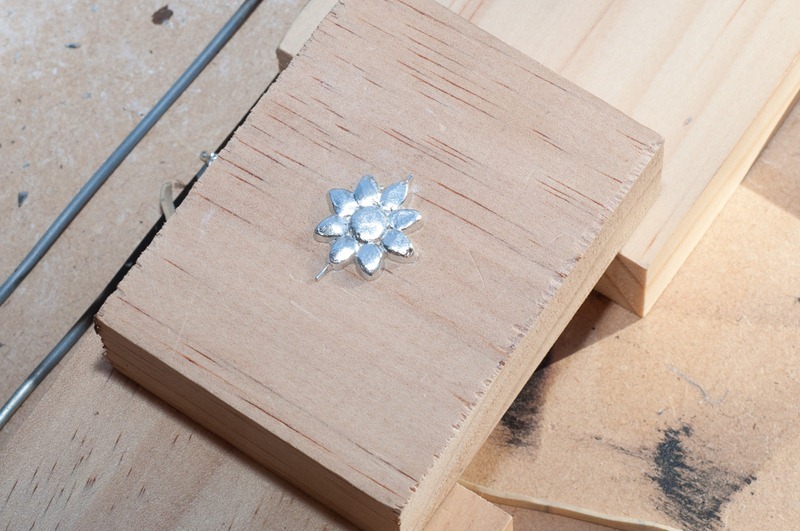
Once the metal had cooled I flipped it over and was pleased to see a perfect casting!
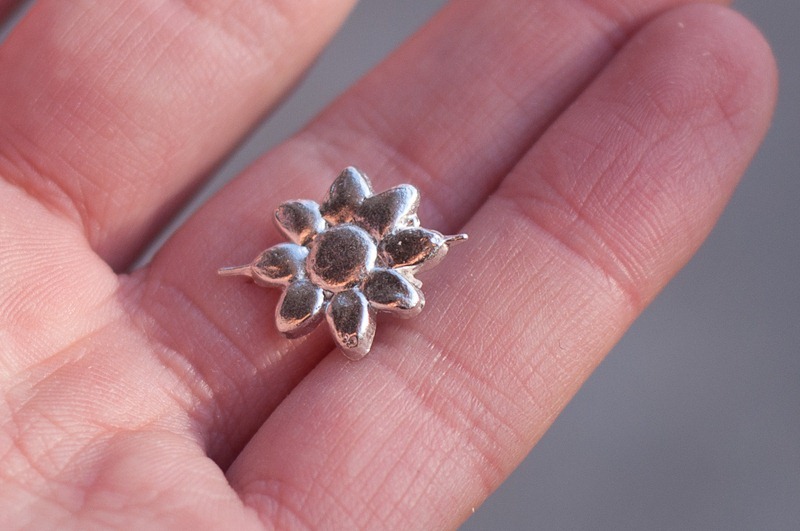
I nipped off the sprue and there it was, a daisy.
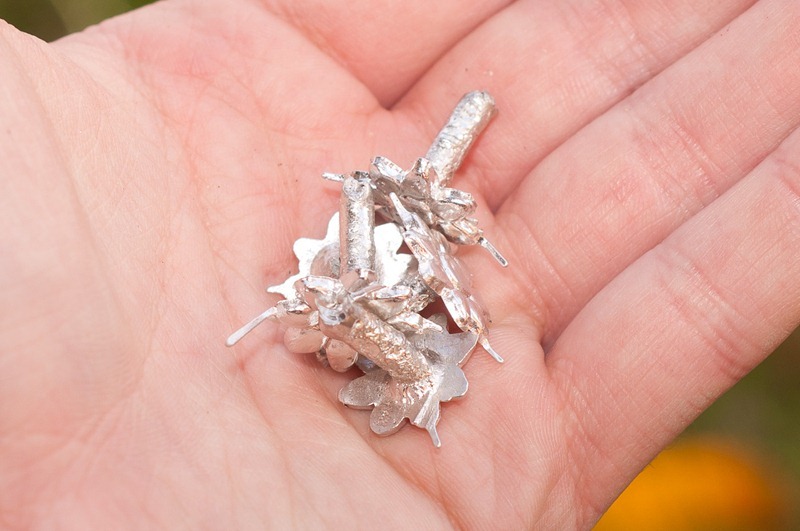
I cast four more so I'd have some spares. As I was remelting the metal we had our Friday afternoon 5.2 magnitude earthquake, always fun when you're handling a pot of molten metal!
Here are the five raw castings, ready to be cleaned up.
Over the next few hours I carefully filed then smooth, removed any imperfections and cut off the sprues. I filed the backs flat, and then mixed up some epoxy glue. I put a dab on the back of each one and pressed on a blank earring post. To finish things off I put a smooth coating of epoxy across the back of each earing to insulate the metal; I'm always a little cautious about dermal absorption of metals.
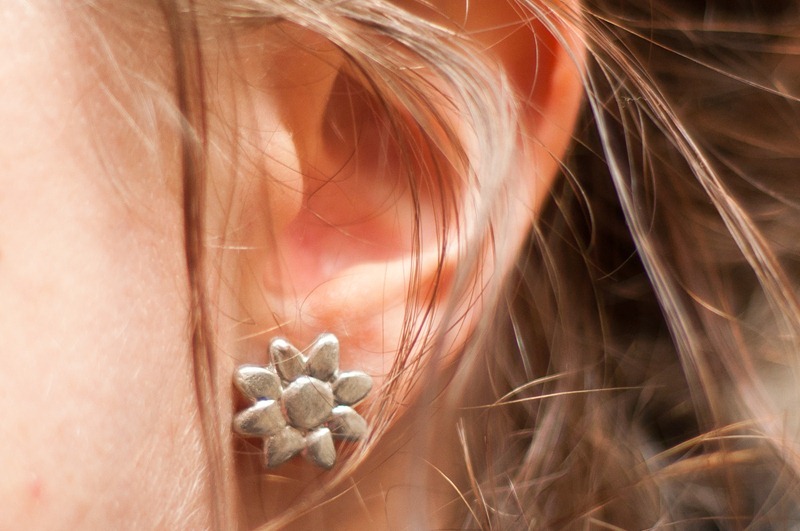
After curing for 24 hours they were all ready to go! I packed them up ready for my next flight up to Auckland. And here is the finished result, at about 2x life size:
All in all a fun wee project, and well received. It's been a long time since I've done any metal casting, I remember when I was casting various items most weekends! The skills are easily remembered though and it's been fun to get back into it.

Comments
I was wondering if you might be able to help me out. I am looking at purchasing some white metal for making some modelling parts, but I have not got the foggiest idea where to start looking to purchase some. You wouldn't have any leads you would be willing to pass on?
Cheers
Leave a comment?